
How to Set Up an Instagram Shop in 2026 (Step-by-Step)
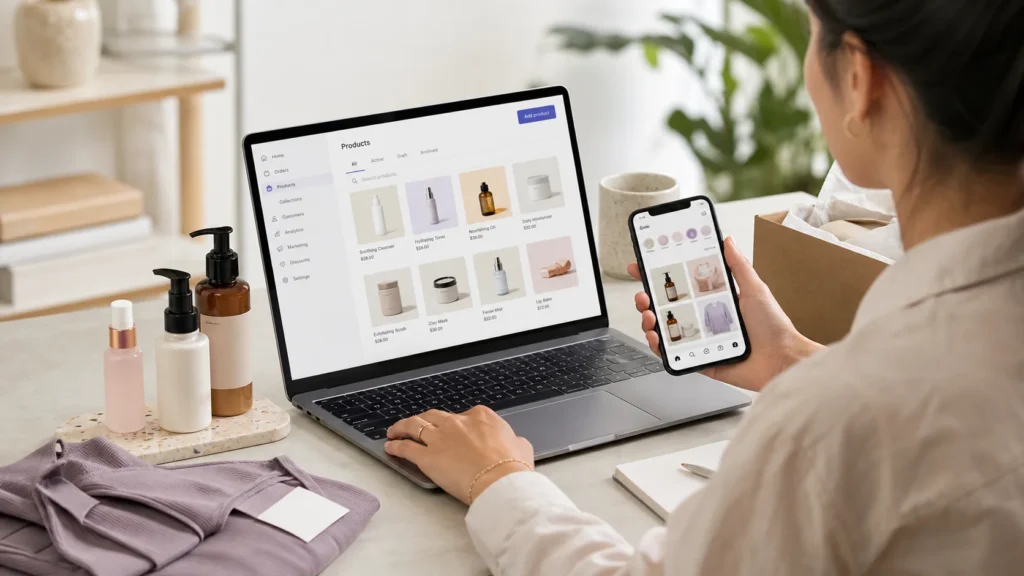
An Instagram Shop lets eligible businesses display products through Instagram and use product tags in supported content. Customers can explore a product on Instagram, but checkout now takes place on the merchant’s website rather than inside Meta’s apps.
The setup is managed through Meta Commerce Manager or a supported ecommerce platform. You need an eligible business, a product catalogue and a website checkout URL. Meta states that commerce-account review can take up to four weeks, so allow time for approval rather than planning a launch around a one-day review.
This guide explains the current setup route. If you need the wider strategy around content, checkout and customer conversations, read the guide to selling products through Instagram.
What do you need before setting up an Instagram Shop?
Before starting, confirm that:
- your business meets Meta’s commerce eligibility requirements;
- the commerce account is based in a country where Shops are supported;
- you have an Instagram business account in the correct Meta business portfolio;
- you have full control of the business assets you intend to connect;
- your products comply with Meta’s commerce policies;
- you have accurate product images, prices, descriptions, availability and website URLs;
- you have a website checkout URL; and
- you have created, or can create, a Commerce Manager account and product catalogue.
A Facebook Page can be part of this setup, particularly when the business uses Facebook and Instagram together. However, Meta states that a seller creating a shop only for Instagram does not necessarily need to create or provide a Facebook business Page during shop creation.
Shop features and regional availability change. Check Meta’s current supported-country list before investing time in catalogue preparation.

Illustrative checklist. Exact eligibility and availability depend on the business, products and commerce-account location.
Step 1: Switch to an Instagram business account
An Instagram business account is the clearest route for a merchant that wants its shop visible on Instagram. If the profile is still personal, switch it to a professional account and choose the business option.
Menu wording can differ between app versions, but the usual route is:
- Open Instagram and go to your profile.
- Open the profile menu.
- Select Settings and activity.
- Find Account type and tools or the equivalent professional-account setting.
- Select Switch to professional account.
- Choose Business.
- Select an appropriate category and review the public contact details.
- Complete the change.
Switching account type does not automatically create a shop. It gives the profile access to the business tools needed for the later Commerce Manager steps.
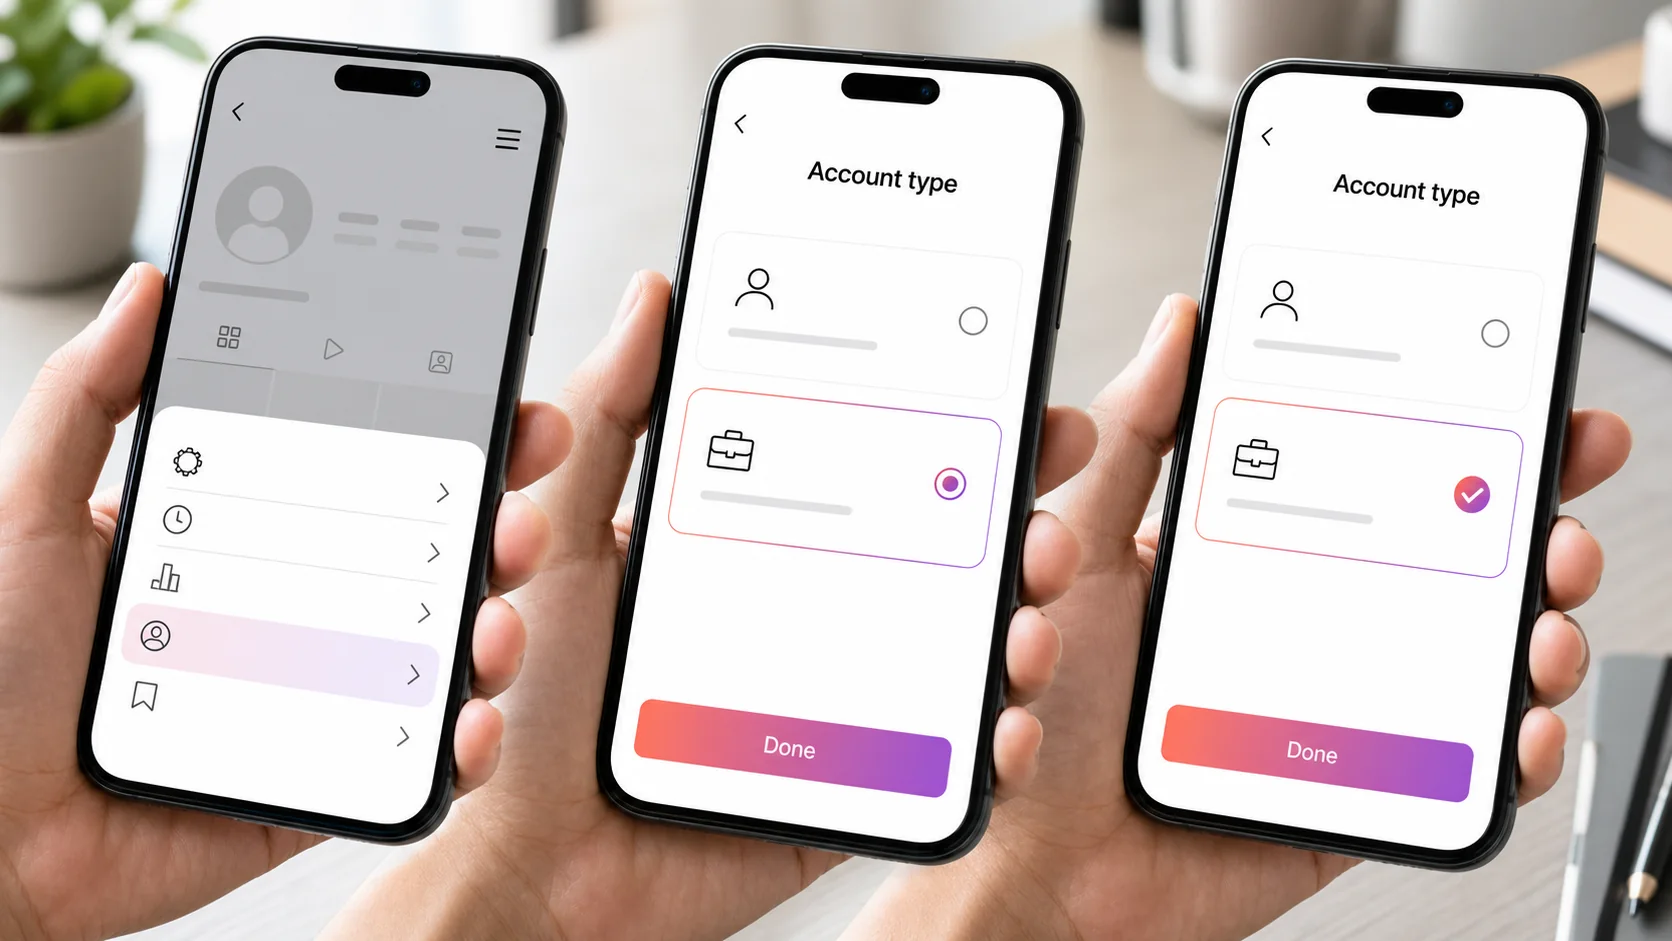
Illustrative interface. Instagram may change menu names and screen layouts.
Step 2: Connect Instagram to the correct Meta business assets
The Instagram account, commerce account, catalogue and any Facebook Page used by the business must sit under the correct ownership and permissions.
Open Meta Business Suite or Business Settings and confirm:
- The correct Instagram business account appears in the business portfolio.
- You have full control rather than limited task access.
- Any Facebook Page used by the business belongs to, or is shared correctly with, the same portfolio.
- The person completing setup has permission to manage the intended catalogue and commerce account.
If the Instagram account does not appear during shop setup, check ownership and permissions before disconnecting assets. Connecting the wrong Page, profile or catalogue can create approval and synchronisation problems later.

Illustrative asset map. A Facebook Page may be part of the configuration, but Meta does not require one for every Instagram-only shop route.
Step 3: Create or connect a product catalogue
The catalogue is the source of the product information displayed through Meta’s shopping features. It should contain current titles, images, descriptions, prices, availability, variants and website product URLs.
There are two common setup routes.
Add products through Meta Commerce Manager
Go to Meta Commerce Manager and create or select a catalogue for ecommerce products. Depending on the account and catalogue, products can be entered individually or supplied through a data feed.
For each item, check:
- product name and description;
- price and currency;
- availability;
- website product URL;
- primary product image;
- variant information; and
- category and condition where required.
Avoid uploading a product simply to complete the setup. Inaccurate prices, broken URLs and missing availability can lead to rejected items and a poor customer experience.
Synchronise products from Shopify
Shopify merchants can use the Facebook and Instagram by Meta sales channel. It creates or connects the relevant catalogue and synchronises supported product information from the store.
From Shopify admin, go to Settings > Sales channels, add Facebook and Instagram, start setup, connect the authorised Facebook account and select the required business assets. Shopify describes it as a sales channel, so it appears under Sales channels rather than only under installed apps.
The dedicated guide to connecting Instagram with Shopify covers that route in more detail.

Illustrative catalogue screen showing the manual and connected-store routes.
Step 4: Complete shop setup and submit it for review
Once the catalogue is available, open Commerce Manager and complete the tasks shown under Set up your shop.
The current setup can include:
- Confirming the shop and commerce-account information.
- Selecting or optimising the product catalogue.
- Adding product variants where needed.
- Configuring the delivery profile.
- Adding the website checkout URL.
- Reviewing any account or policy warnings.
- Publishing the shop when all required tasks are complete.
Meta says the review process can take up to four weeks. Commerce Manager shows the status and can display actions the business needs to take. An email may also be sent when attention is required.
Do not repeatedly recreate the shop while a valid review is in progress. First check Commerce Manager for missing tasks, rejected items, permission errors or policy notices.
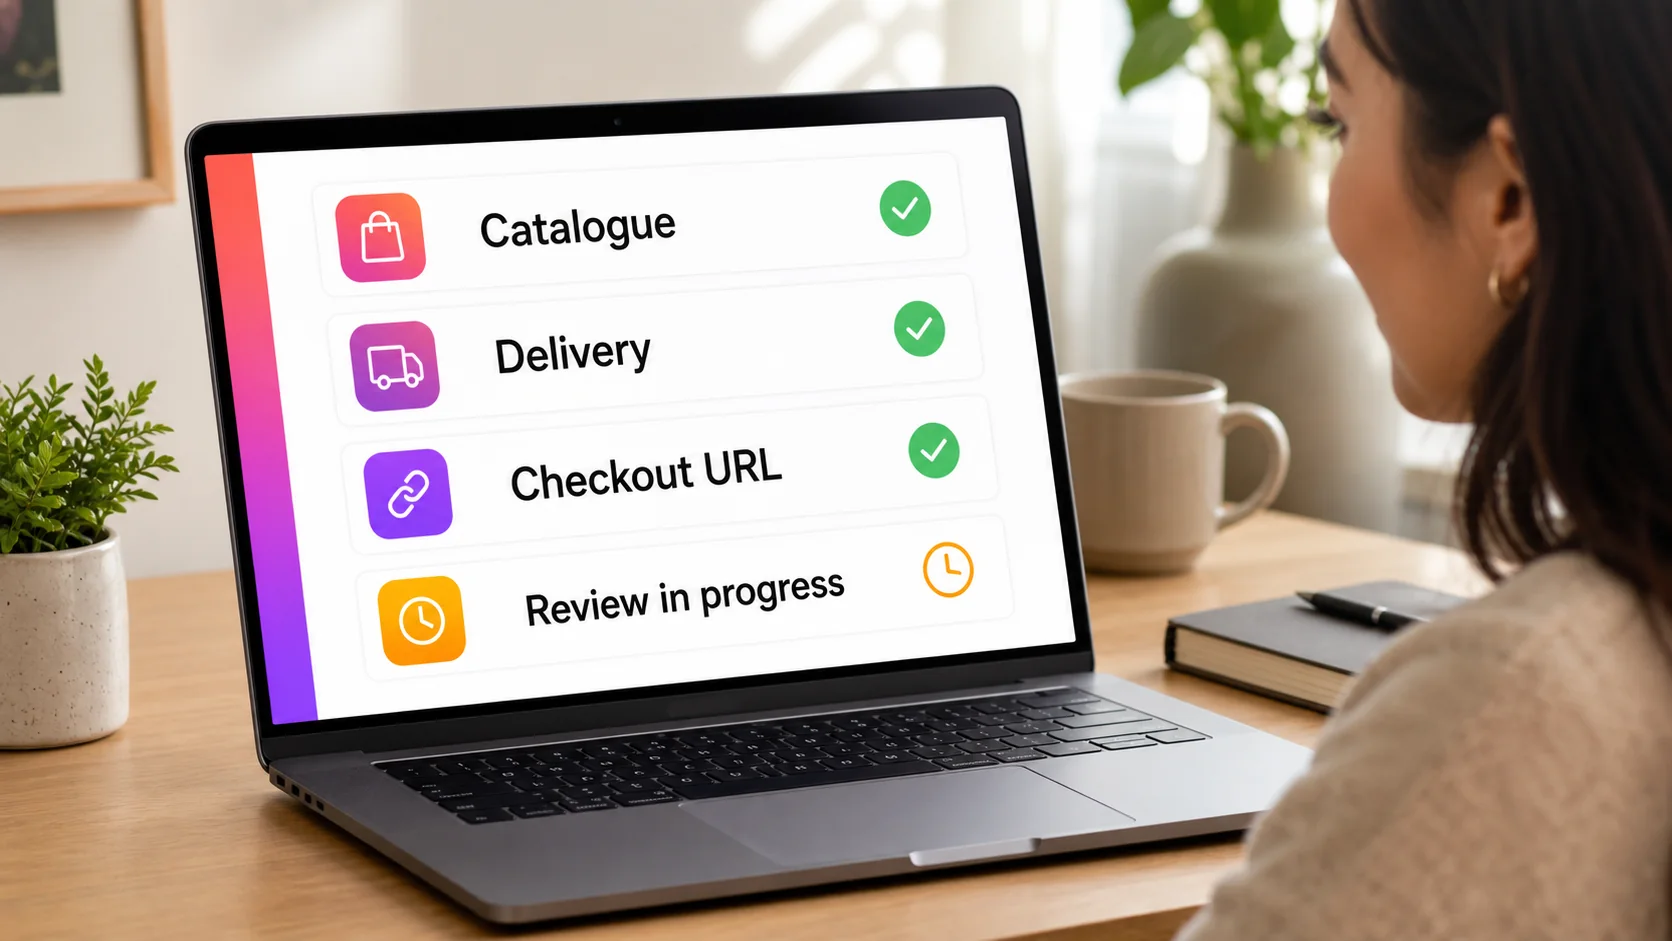
Illustrative review checklist. It does not represent a promised approval time.
Step 5: Tag products in posts, Stories and Reels
After the shop and relevant products are approved, eligible accounts can add product tags to supported Instagram content. The exact controls depend on the content format, account and country.
Tag a product in a post
Create the post and continue to its final sharing options. Look for Tag products, search the connected catalogue and select the product shown in the image. Place the tag where it helps the viewer identify the item without covering an important part of the photograph.
Add a product to a Story
Create the Story, open the sticker options and look for the available product-shopping control. Select the catalogue item and place the sticker where it remains readable. If the product control is missing, check account approval, country availability and product status.
Tag a product in a Reel
Create the Reel, select the cover and caption, then open More options and choose Tag products. Meta’s current instructions allow an approved business or creator to tag up to 30 products or a collection in a Reel, although platform limits can change.
Only tag products that are genuinely shown or discussed. An unrelated product tag may attract a tap, but it creates confusion when the customer lands on the wrong item.
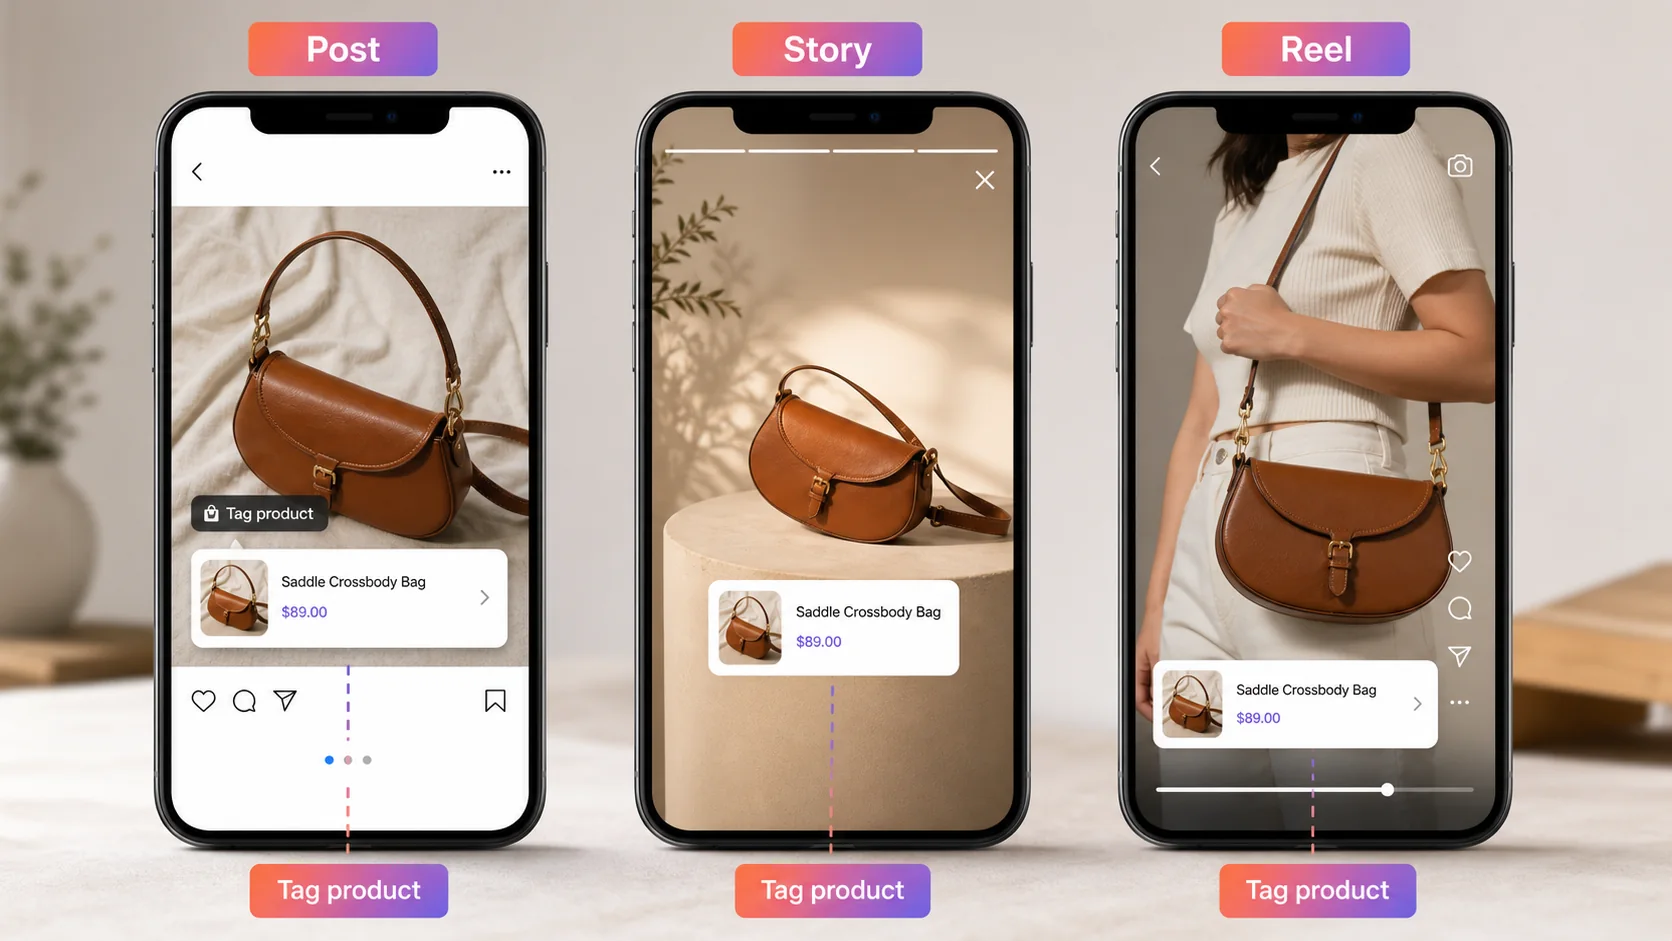
Illustrative content-format comparison. Available controls and limits can vary.
Step 6: Organise the shop and product collections
Commerce Manager lets eligible merchants organise how products are presented across their shop. Instead of relying on an assumed permanent bag-icon tab, review the current shop preview and the surfaces Meta makes available to the account.
Use collections to group products around a clear shopping purpose, such as:
- new arrivals;
- bestsellers;
- product categories;
- seasonal ranges;
- gifts; or
- products for a particular need.
Give each collection a descriptive name and choose a strong featured image. Check the mobile preview, product links and availability before publishing changes.
Meta can personalise parts of a shop’s layout. A customer may therefore see a different product order from the one shown in the merchant preview.
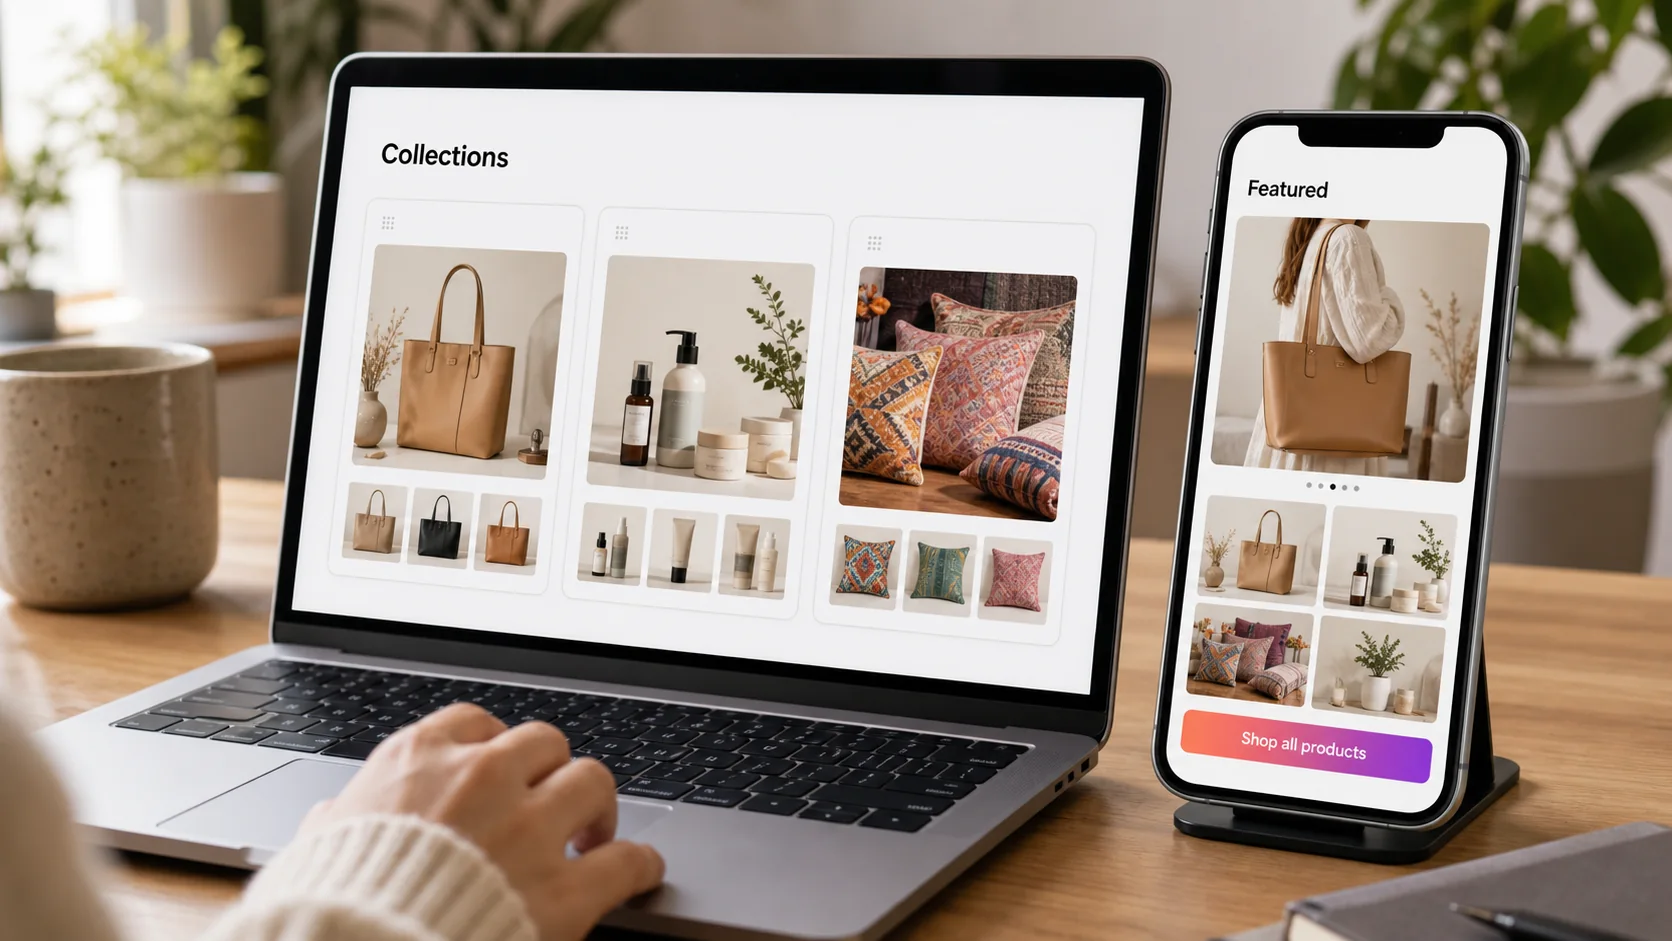
Illustrative collection manager and mobile shop preview.
How can you bring people to your Instagram Shop?
Product tags reduce the distance between content and a product page, but the content still needs to help someone make a decision.
- Demonstrate how the product is used rather than showing only a catalogue image.
- Answer common questions about size, materials, ingredients, compatibility or care.
- Use Stories for timely launches, restocks and reminders.
- Use Reels where movement or demonstration helps explain the product.
- Keep the website checkout fast and mobile-friendly.
- Make delivery and return information easy to find.
- Respond promptly when a customer asks a question before buying.
Do not assume that one format always produces more reach or clicks. Use Instagram Insights and store analytics to compare product-page visits, conversations and purchases for your own account.
The Instagram marketing strategy for ecommerce explains how to connect these activities across the buying journey.
How does AeroChat help after an Instagram Shop goes live?
AeroChat is an AI agent platform that helps Instagram business owners automate and scale customer conversations.
An Instagram Shop can make products easier to discover, but it does not remove questions about sizing, stock, delivery, returns or order status. AeroChat can handle relevant Instagram DMs and comments using approved business information, helping the team reduce repetitive replies.
For ecommerce businesses, the benefit is not another promotional shop page. It is a support layer for the conversations that happen after someone sees or taps a product. When a question requires judgement—such as a return dispute or an unusual request—the conversation can move to a human agent.
Best for: DTC and ecommerce brands handling frequent customer enquiries across Instagram and other channels.
The Instagram Shopping and AI chatbot workflow explains how catalogue information, customer questions and human escalation fit together. Businesses comparing platforms can also review the Instagram AI chatbot options.
Frequently asked questions
How long can Instagram Shop approval take?
Meta currently says commerce-account review can take up to four weeks. Check Commerce Manager for the current status and any actions required rather than relying on a fixed one- or two-day estimate.
Do you always need a Facebook Page for an Instagram Shop?
No. Meta says a business that wants to sell only on Instagram does not necessarily need to create or provide a Facebook business Page when creating the shop. A Page can still be part of the business-asset setup when the merchant uses Facebook and Instagram together.
Where does an Instagram Shop customer complete checkout?
The shop must include a website checkout URL. Customers are redirected from Meta’s shopping surfaces to the merchant’s website to complete the purchase.
Can you use Instagram Shopping without Shopify?
Yes. A business can manage a catalogue through Meta Commerce Manager or use another supported ecommerce connection. Shopify is one convenient synchronisation route, not a requirement.
Why is the product-tagging option missing?
Check whether the shop and product are approved, the account is eligible, the commerce account is in a supported country and the correct catalogue is connected. Feature availability can also vary by content format and region.
Can you tag products in an Instagram Reel?
Yes, for eligible accounts with an approved shop. Meta’s current instructions allow up to 30 products or a collection in a Reel, although limits and availability can change.