

How to Post on Instagram From a Desktop Computer in 2026

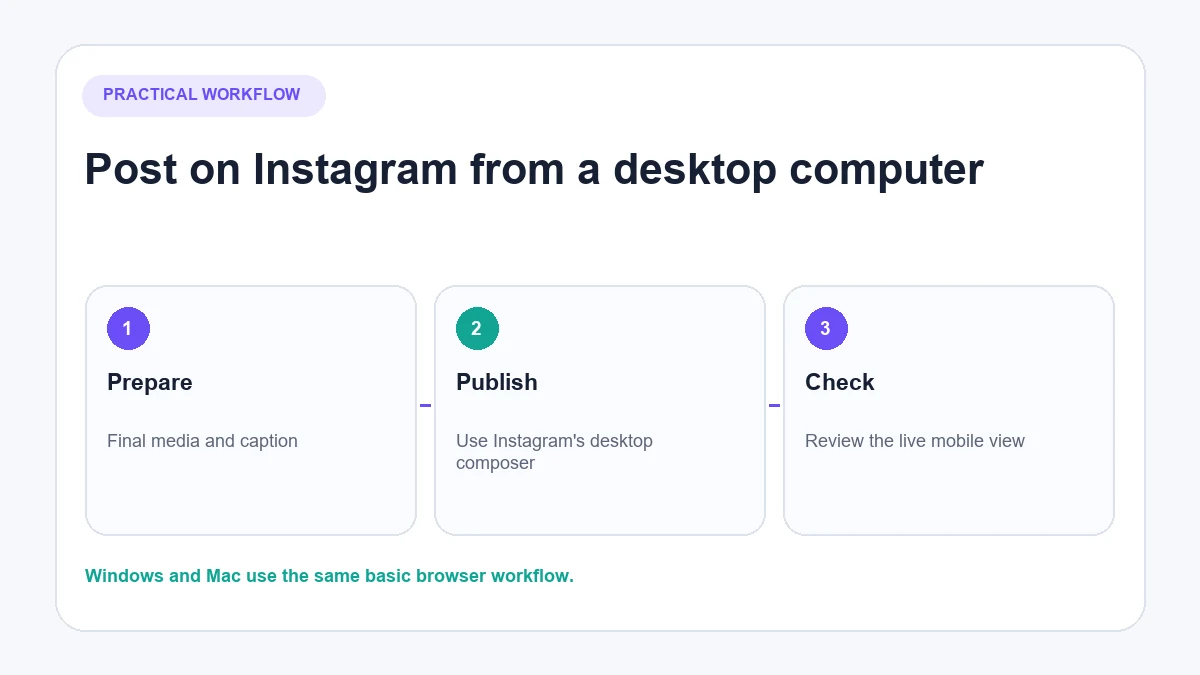
You can post on Instagram from a desktop by opening Instagram.com, signing in, selecting Create, choosing Post, uploading your media and completing the publishing details. The browser workflow works on both Windows PCs and Macs, with no developer-mode workaround required.
The desktop interface is convenient for photos, videos and carousels already stored on a computer. Some creative and publishing features can still differ from the mobile app or vary by account, so check the available controls before relying on desktop for a campaign.
Can you post on Instagram from a desktop?
Yes. Instagram’s web interface supports creating feed posts from a computer. Its official carousel instructions document selecting media from a computer and publishing up to ten photos or videos in one feed post.
You can use a current desktop browser on Windows or macOS. The ordinary publishing sequence is broadly the same, although file selection looks different in Windows File Explorer and macOS Finder.
Do not use old tutorials that tell you to open browser developer tools and imitate a phone. That workaround was used before native desktop publishing became available and is unnecessary for a normal feed post today.
What can you publish from a computer?
The safest way to think about desktop options is by method rather than assuming every mobile feature is present.
| Requirement | Instagram.com | Meta Business Suite | Instagram mobile app |
|---|---|---|---|
| Publish a feed photo | Suitable | Suitable for eligible connected accounts | Suitable |
| Publish a carousel | Supported; up to ten items in current official guidance | Check current composer | Suitable |
| Upload video | Available through the desktop composer; final classification/features can vary | Check current account and composer | Fullest creation workflow |
| Schedule content | Check whether scheduling appears for the account | Designed for planning/scheduling professional content | Availability varies by account and post type |
| Detailed Reel editing, effects or music | More limited than mobile | More publishing than creation focused | Usually the fullest toolset |
| Interactive Story stickers and mobile-native creative tools | Do not assume full availability | Check current Story composer | Usually the fullest toolset |
| Team planning and calendar | Limited | Stronger fit | Limited |
Instagram changes its interfaces frequently. Verify any feature essential to a campaign using the exact account and post type before preparing the whole content calendar around it.
How to post on Instagram from a PC or Mac
1. Open Instagram and sign in
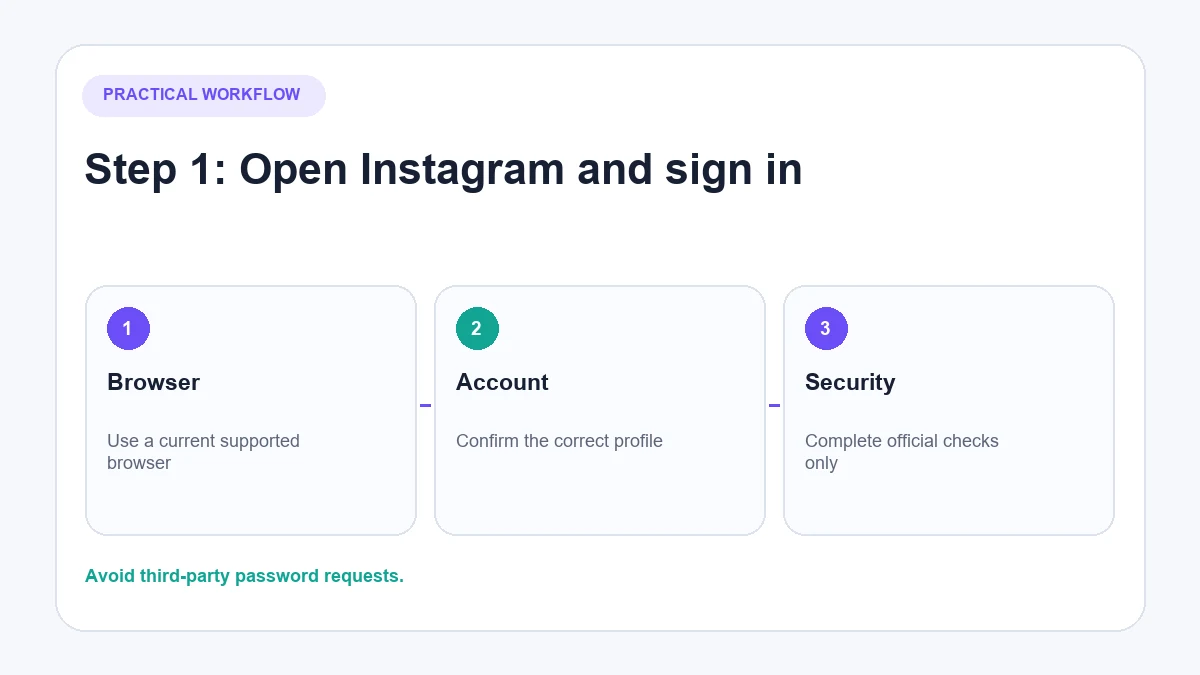
Go to Instagram.com in an up-to-date browser and sign in to the correct account. Check the profile name before uploading, particularly if the browser stores sessions for several client or brand accounts.
If Instagram requests a security check, complete it through the official account-recovery or verification flow. Do not provide a login code to a third-party publishing service unless you deliberately initiated the expected Meta authorisation process.
2. Select Create and choose Post
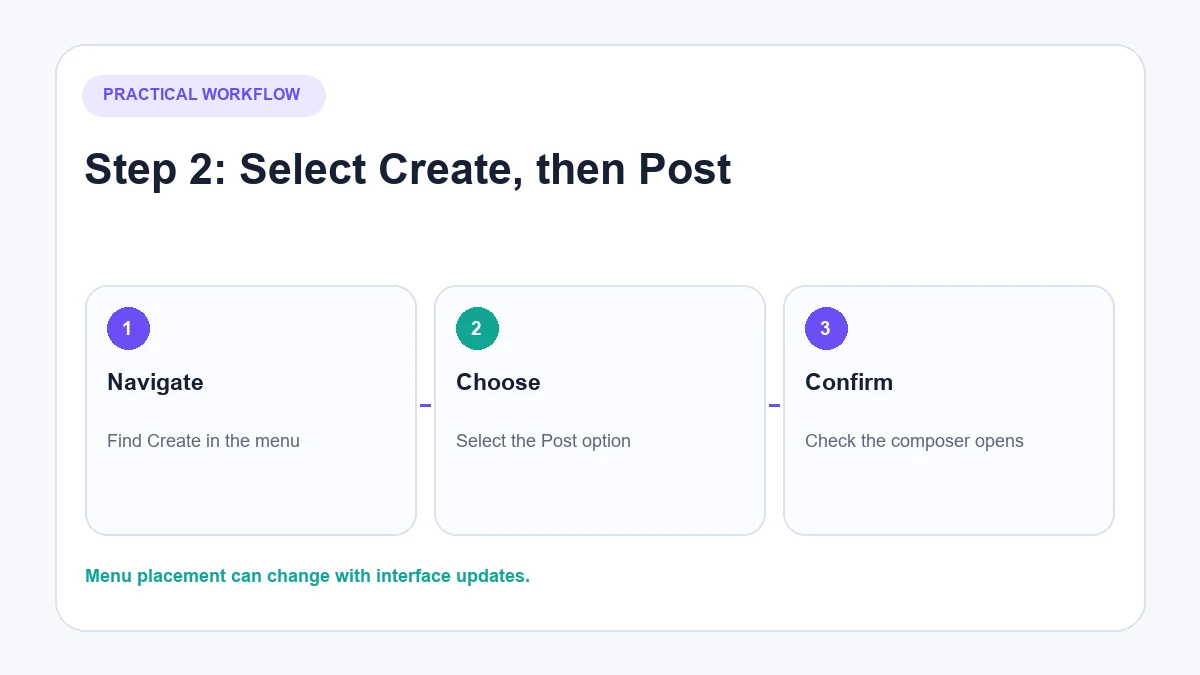
Find Create in the Instagram navigation and select Post. The placement can change when Instagram updates the desktop layout, so look for the Create label or plus symbol rather than relying on an old screenshot’s exact coordinates.
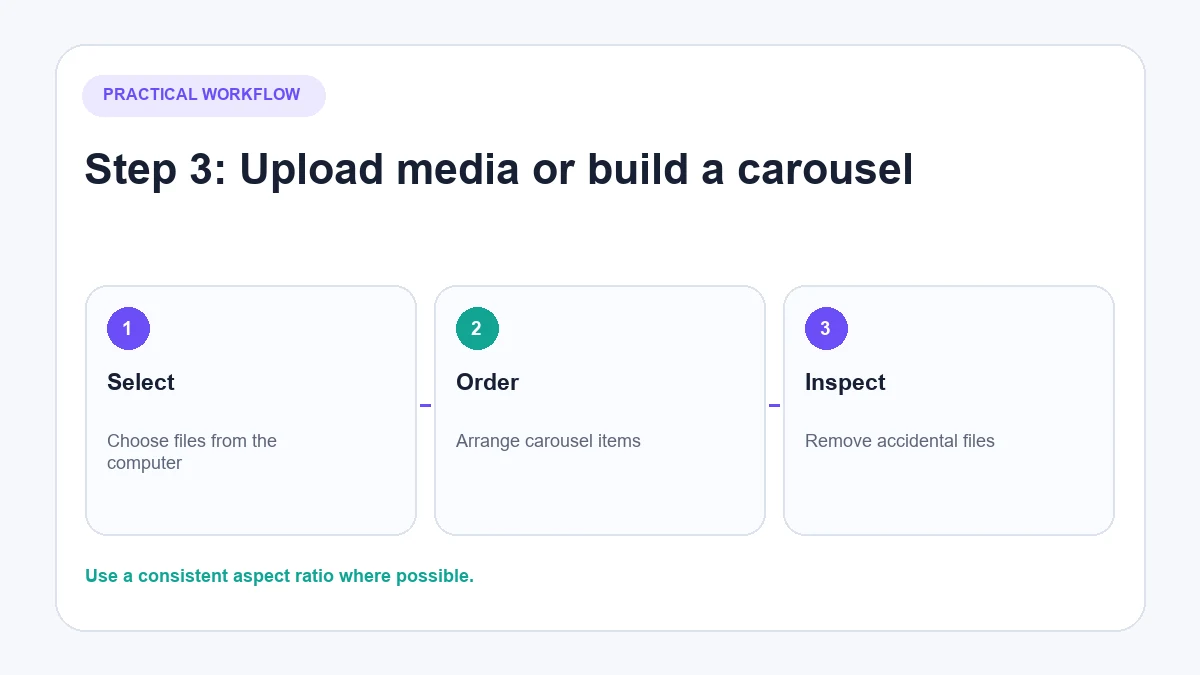
3. Upload one file or build a carousel
Choose Select from computer, then select the photo or video you want to publish. You can also drag supported media into the composer when the interface offers that option.
For a carousel, use the multiple-item control and select up to the current limit. Instagram’s official guidance says a carousel can contain up to ten photos and videos. Reorder the items before publishing and remove anything included accidentally.
All carousel items share the chosen orientation. A mixture of portrait, landscape and square source files can therefore be cropped unexpectedly. Prepare them to a consistent aspect ratio before upload when precise framing matters.
4. Choose the crop and make edits
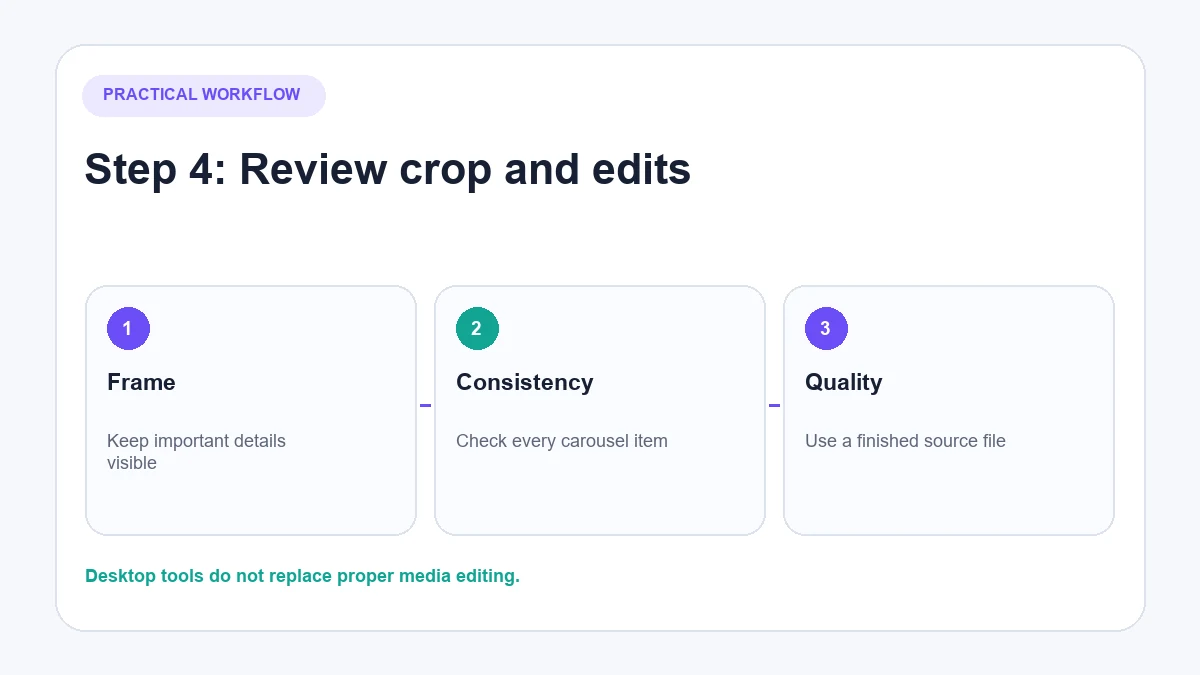
Review how the media fits the available frame. Reposition each carousel item where permitted and check that products, faces, captions built into artwork and other important details are not cut off.
Instagram may provide filters and adjustment controls, but desktop editing is not a replacement for a proper source file. Export the final colour, dimensions and text treatment from the design or editing tool before upload.
5. Add the caption and publishing details
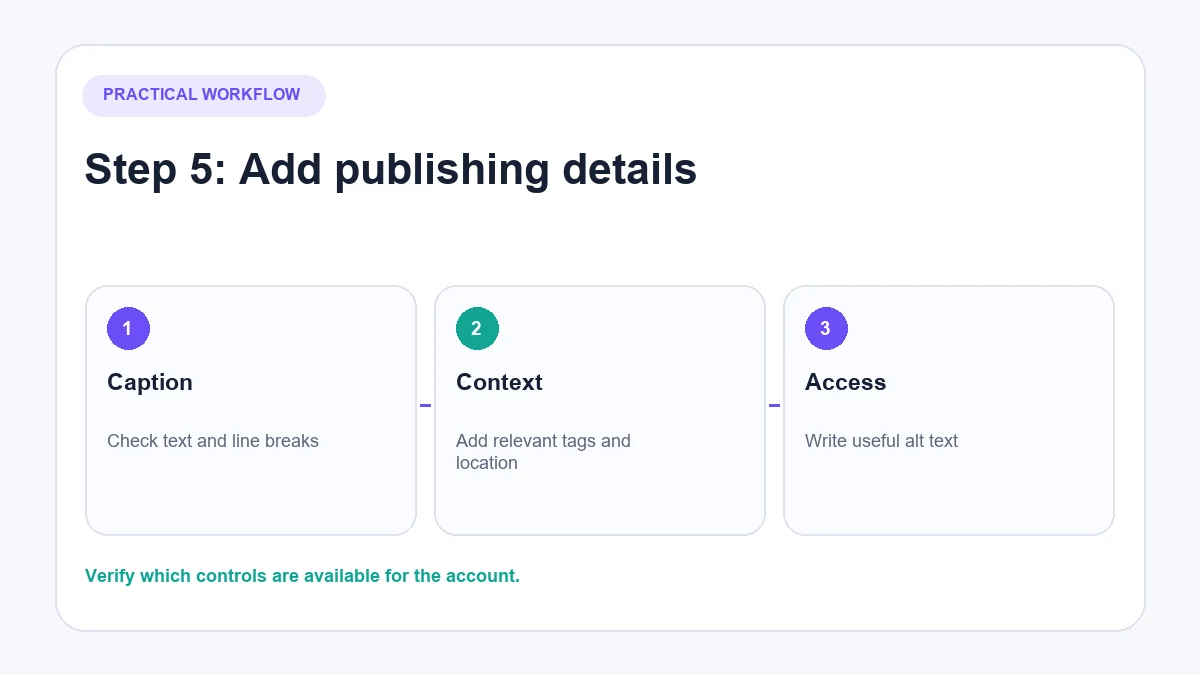
Write or paste the final caption, then check the controls available for:
- Location
- Account tags
- Collaborators
- Accessibility or alternative text
- Comment settings
- Like/view visibility
- Cross-posting
Not every option appears for every account or post type. Do not invent tags or accessibility text simply to fill a field. Useful alt text describes the important visual information without stuffing hashtags or keywords.
If the caption was prepared in another document, check line breaks, special characters and pasted links. Feed captions do not turn an ordinary URL into a reliably clickable website link.
6. Review the post and select Share
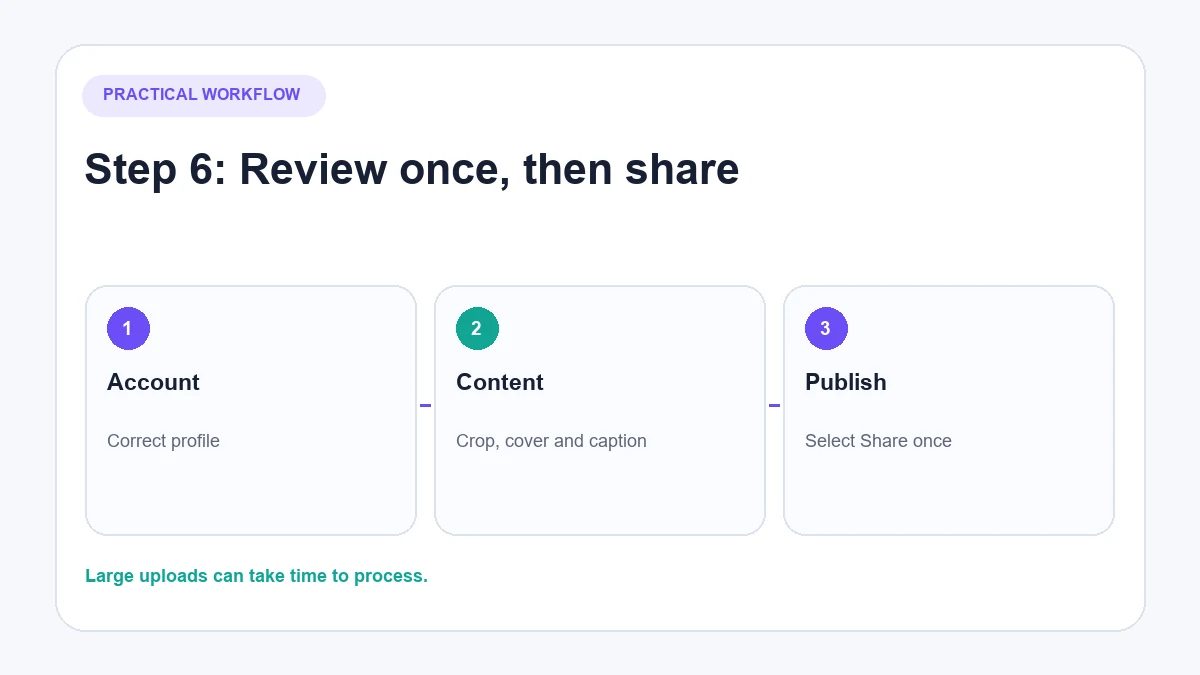
Before selecting Share, check:
- The correct account is active.
- The first carousel item is the intended cover.
- The crop works on every item.
- The caption has no draft notes or broken formatting.
- Tags, location and accessibility settings are correct.
- Any product, price or promotional information is current.
Select Share once. A large video or multi-video carousel can take longer to process, so avoid repeatedly submitting it while the first upload is still active.
Check the live post after publishing
Open the finished post from the profile and inspect it as a visitor would. Confirm the caption, tags, crop and carousel order. If the content contains video, check playback, cover image and audio.
Also review it on a phone. Desktop preparation is efficient, but most followers will see the content on a mobile screen. Text built into an image that looks comfortable on a monitor can be unreadable in the feed.
How to post an Instagram Story from a desktop workflow
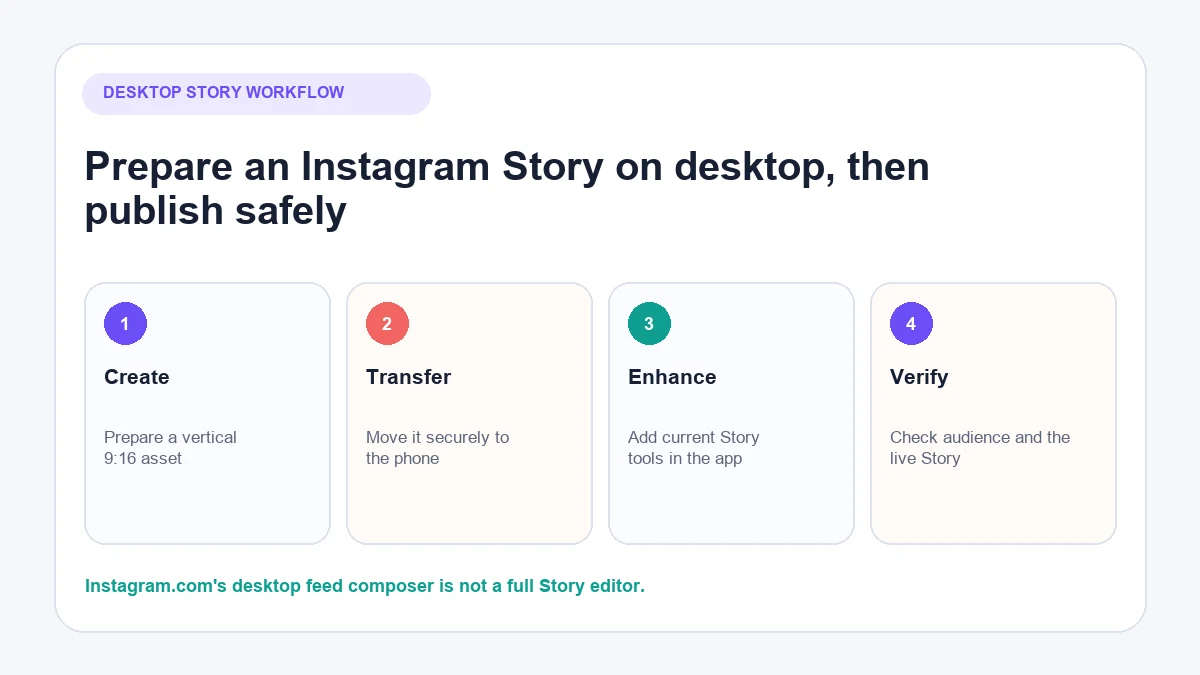
Instagram.com does not currently provide the same full Story creation workflow as the Instagram mobile app. The dependable method is to prepare the Story asset on your computer, transfer it securely to your phone and publish it in the app.
1. Prepare a vertical Story asset
Create the photograph or video on a 9:16 canvas, with important text and subjects away from the top and bottom interface areas. Export a standard web-compatible file and review it at phone size before transferring it.
2. Transfer the file securely to your phone
Use an approved cloud folder, device transfer or your organisation’s asset-management system. Avoid sending unreleased campaign files through personal accounts when the content is confidential.
3. Open the Instagram Story composer
In the Instagram mobile app, select Create and choose Story, then select the prepared file. Add any current native elements—such as mentions, links, music or interactive stickers—inside the app because desktop design software cannot reproduce their live behaviour.
4. Check the audience and publish
Confirm whether the Story is for the normal audience or Close Friends, review every tappable element and then share it. Open the live Story from another suitable account where possible and test links, mentions, audio and crop.
Meta’s current Help Centre identifies several Story sharing features as unavailable on computers, including sharing an Instagram Story to Facebook. A professional account may see Story options in Meta Business Suite as tools roll out, but check the current composer before building a campaign around them. Desktop publishing may not include the mobile app’s complete sticker, music or editing controls.
Do not use browser developer-mode workarounds or tools that request your Instagram password. They add account and security risk without providing a dependable publishing process.
How to schedule Instagram content from desktop
Businesses with a professional Instagram account connected to the appropriate Facebook Page can use Meta’s publishing tools where available. Meta documents that connecting the accounts enables cross-app management, including messages and comments, through Messenger or Meta Business Suite. See the current professional-account connection guidance.
Use Meta Business Suite
The general process is:
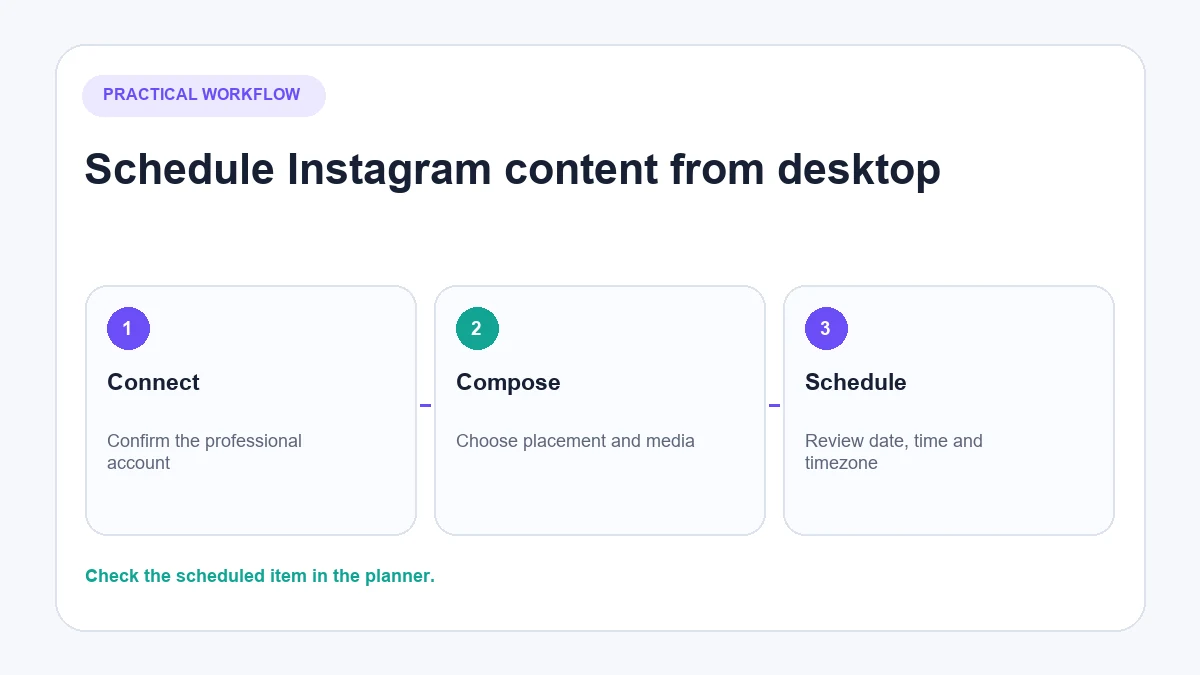
- Open Meta Business Suite for the correct business.
- Confirm that the intended Instagram account is connected.
- Open the content composer or planner.
- Choose the Instagram placement and post type.
- Add the approved media and caption.
- Select the scheduling option, date and time.
- Review the scheduled item in the planner.
Scheduling windows and available post types can change. Meta’s Page scheduling documentation currently notes timezone behaviour and defined scheduling limits, but verify the Instagram composer itself before stating an exact window.
Use a third-party scheduler when the workflow requires it
A scheduler may be justified when a team needs:
- Approval before publication
- A shared content calendar
- Bulk preparation
- Several brands or networks
- Asset libraries and reusable labels
- Reporting tied to the publishing workflow
Choose a service that uses the expected Meta connection process. Avoid tools that request the Instagram password directly, simulate browser activity or promise artificial engagement.
Desktop publishing limitations to check
Desktop publishing is useful, but it is not always identical to the mobile app. Test these before committing to a workflow:
- Music and audio selection
- Detailed Reel editing
- Interactive Story stickers
- Product tags
- Collaborator and branded-content controls
- Draft behaviour
- Scheduled-post editing
- Cross-posting to Facebook
- Accessibility settings
- Account-specific feature rollouts
If a feature is central to the post, create a small unpublished draft or limited test rather than relying on a tutorial written for another account.
Why an Instagram upload fails on desktop
| Problem | Likely cause | What to try |
|---|---|---|
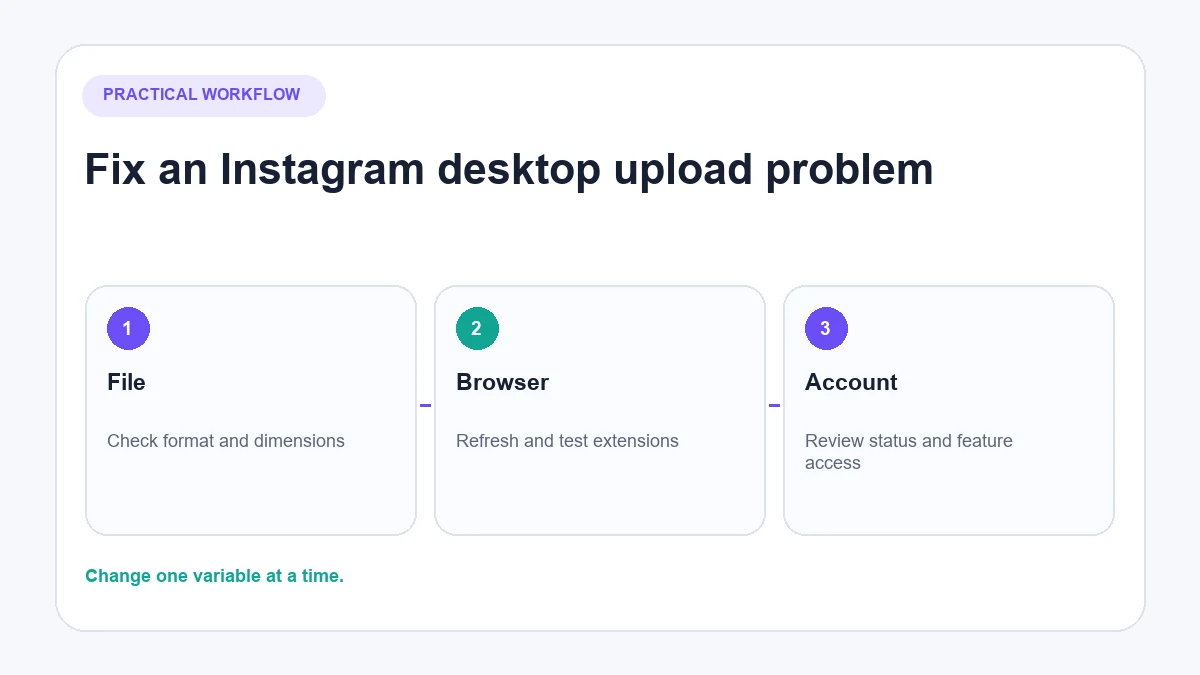
| Create option is missing | Session, account restriction or feature rollout | Refresh, sign out/in, check account status and try a supported current browser |
| File cannot be selected | Unsupported format or browser restriction | Export a standard web-compatible photo/video and retry |
| Upload stalls | Large media, connection problem or browser extension | Wait for processing, test the connection and temporarily disable interfering extensions |
| Carousel crops badly | Mixed source orientations | Prepare consistent dimensions or reposition each item before publishing |
| Caption formatting breaks | Pasted formatting or unsupported characters | Paste as plain text and rebuild deliberate line breaks |
| Tags or music are unavailable | Desktop/account/post-type limitation | Complete that part in the mobile app if necessary |
| Post is removed or blocked | Content, rights or account-status issue | Review the notification and use Instagram’s official account-status/support route |
What happens after the post goes live?
Publishing is only the start of the customer interaction. Product posts often generate questions about availability, delivery, returns, compatibility or opening hours in comments and DMs.
How AeroChat Manages Customer Conversations After You Post
AeroChat is an AI agent platform that helps Instagram business owners automate and scale customer conversations. When Instagram content starts generating more comments and DMs than the team can answer consistently, AeroChat can help manage the workload. Its Instagram chatbot answers common questions using approved business knowledge or connected store information. The Instagram integration brings these conversations into a shared inbox, with human handover when personal attention is needed.
AeroChat does not publish the Instagram post and should not be described as a scheduling tool. It becomes relevant after content begins generating more repetitive questions than the team can answer consistently.
Best for: DTC and ecommerce brands handling frequent customer enquiries across Instagram and other channels.
The Instagram connection guide covers the current AeroChat setup. For a wider view of permitted and unsuitable workflows, read the Instagram automation guide.
Desktop publishing checklist
- Use the correct Instagram account.
- Export final media before upload.
- Keep carousel orientation consistent.
- Review crop, cover and order.
- Check caption, tags and accessibility details.
- Confirm product and promotional information.
- Publish or schedule once.
- Inspect the live post on desktop and mobile.
- Monitor comments and DMs after publication.