
How to Run Facebook Ads for Your Shopify Store in 8 Steps (2026)
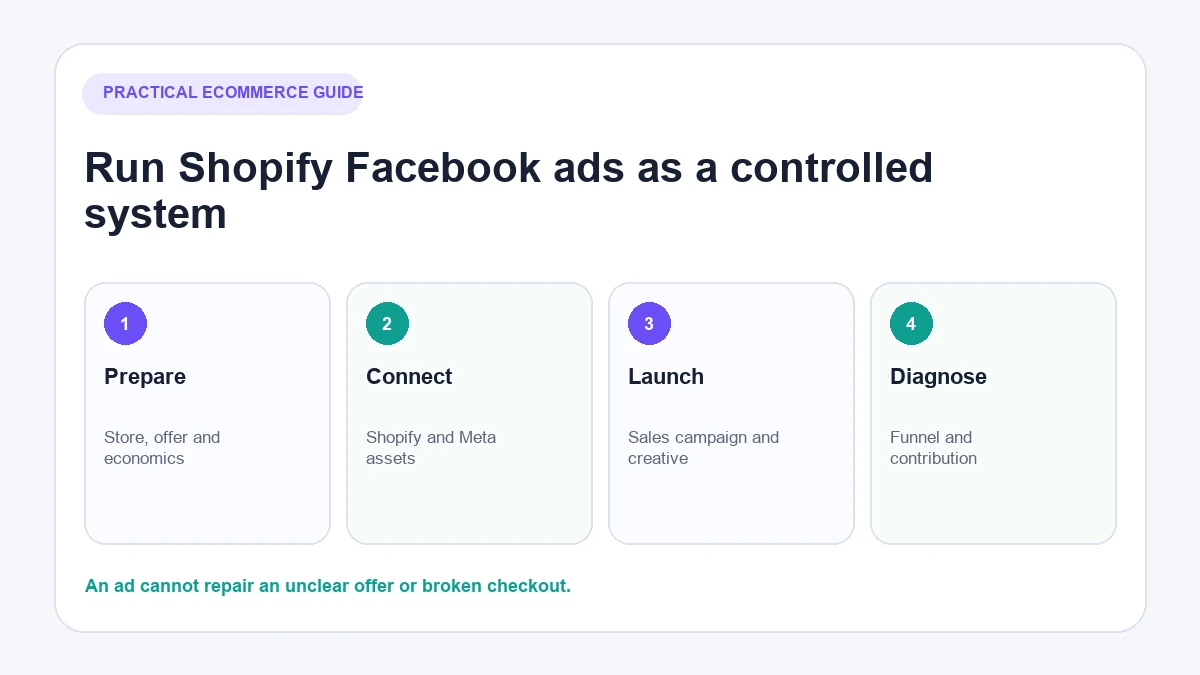
To run Facebook ads for Shopify, connect the official Facebook and Instagram by Meta channel, select the correct business assets and dataset, verify ecommerce events, calculate what you can afford to pay for a sale, then build and publish a Sales campaign in Meta Ads Manager.
The button-clicking is only part of the job. Ads cannot compensate for an unclear offer, a slow product page, unexpected delivery costs or tracking that records the wrong event. Prepare the store and measurement first, then use a controlled campaign to learn what the market responds to.
Meta changes labels and interface layouts regularly. This guide focuses on the decisions that remain important even when a menu moves. Check the linked Shopify and Meta documentation against the interface in your account before spending.
What you need before running Facebook ads for Shopify
Prepare the following assets and access:
- An active Shopify store with the products you intend to advertise.
- A Facebook Page representing the business.
- Access to the correct Meta business portfolio and its assets.
- A Meta ad account with accurate business details and an active payment method.
- The official Facebook and Instagram by Meta sales channel in Shopify.
- A product catalogue if the campaign will use catalogue products.
- Permission to manage the relevant Page, ad account, catalogue and dataset.
- A privacy and consent process suitable for the countries where the store operates and advertises.
Shopify’s current Facebook and Instagram by Meta setup guidance lists the live channel requirements and common eligibility problems. Use that page rather than relying on an old tutorial’s plan names, minimum product counts or interface screenshots.
Check whether the store is ready for paid traffic
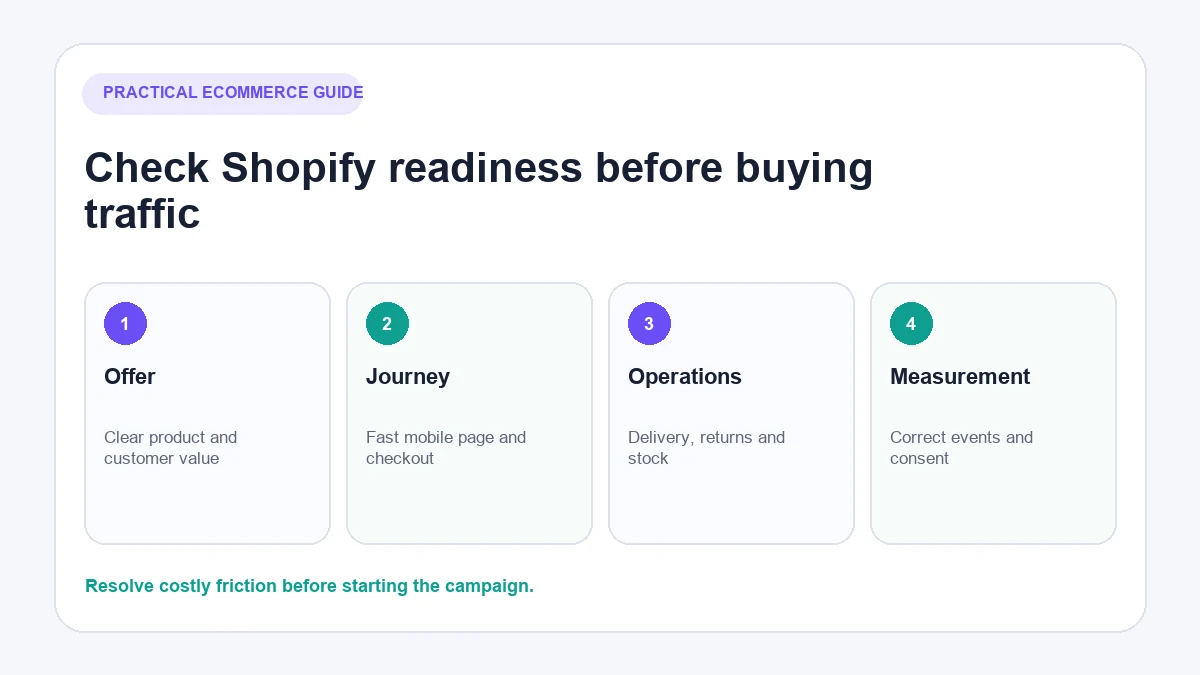
An ad campaign is an expensive way to discover that the store cannot yet convert interested visitors. Complete a short readiness review first.
Confirm the offer and product-page message
The product page should make the item, customer, price and main reason to buy clear. It should also explain material limitations. If the ad promises a particular colour, bundle or delivery window, the destination must show the same offer.
Check fulfilment, delivery and returns information
Paid visitors are less patient than loyal customers. Make delivery cost and timing, return conditions and relevant warranties easy to find before checkout. Do not hide restrictions that materially change the offer.
Test the mobile journey
Open the ad destination on a real mobile device. Check image loading, variant selection, sticky elements, pop-ups, payment options and the route back from an error. Complete a test purchase using an approved testing method or a safely reversible order.
Calculate break-even acquisition cost
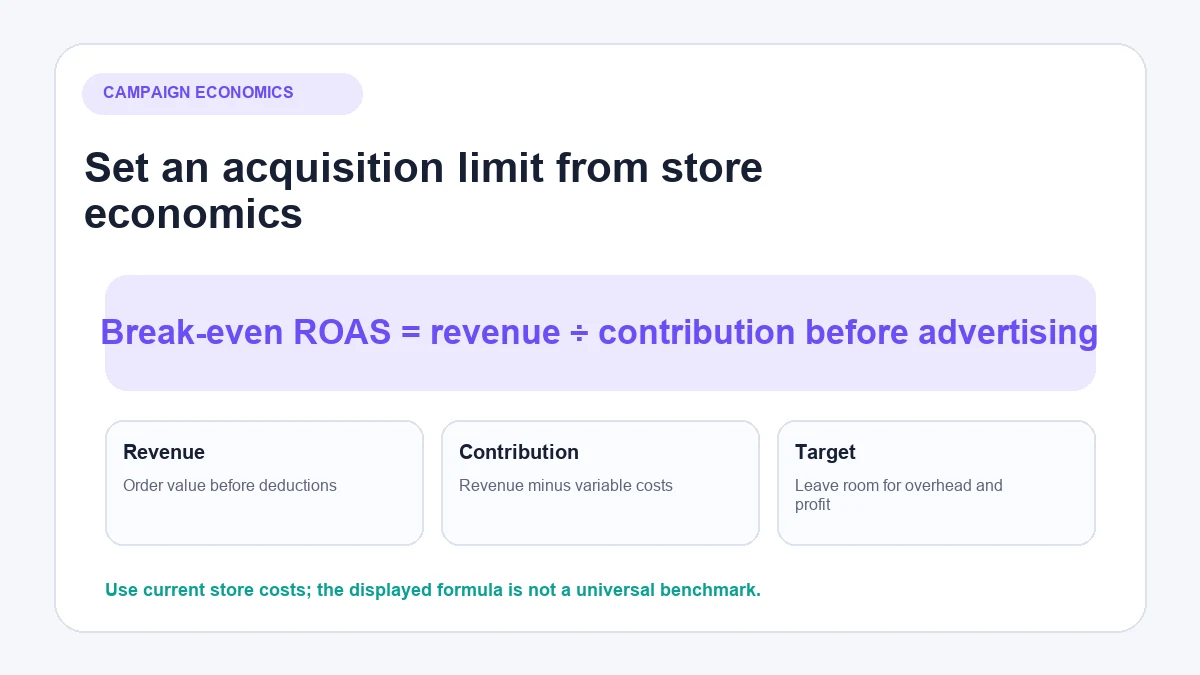
Know how much contribution remains from an order after product cost and variable fulfilment/payment costs. That amount—not revenue alone—sets the upper boundary for what the business can pay to acquire a first order before overhead and profit.
For an illustrative example only:
- Selling price: £80
- Product and packaging cost: £28
- Variable delivery and payment cost paid by the merchant: £12
- Contribution before advertising: £40
The illustrative break-even customer-acquisition cost is £40 if there are no other variable costs. Break-even return on ad spend is calculated as revenue divided by the maximum acquisition cost: £80 ÷ £40 = 2.0. A business seeking profit on the first order needs a lower acquisition cost and therefore a higher ROAS.
Use your own costs. Include discounts, returns and taxes where they affect the merchant’s economics. Customer lifetime value can influence a target, but do not assume future repeat purchases without evidence.
How to connect Shopify to Meta
The connection brings Shopify products and website-event data into Meta’s systems. Use one deliberate setup route and document which business assets were selected; duplicate pixels, catalogues or partner apps can make diagnosis harder.
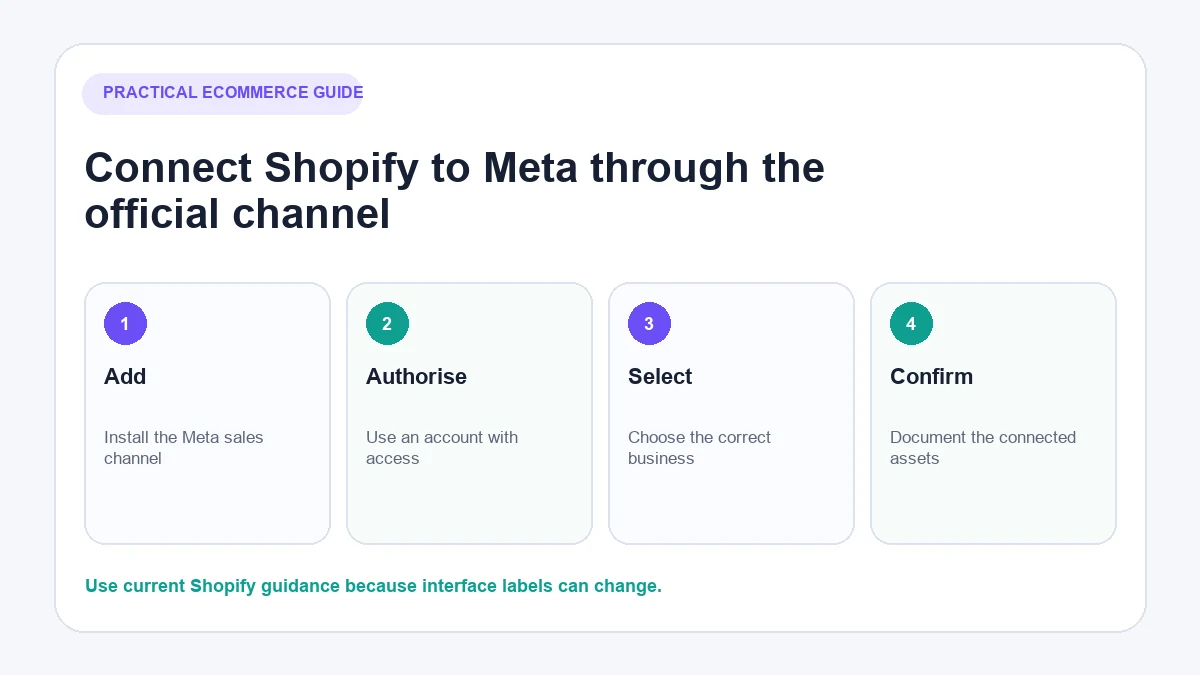
Step 1: Add Facebook and Instagram by Meta
In Shopify admin, add the official Facebook and Instagram sales channel from Meta. Start setup from the channel and sign in with a Facebook profile that has the necessary access.
Do not give a contractor a personal password. Add people through the access controls provided by Shopify and Meta, using the minimum permissions required for their work.
Step 2: Connect the correct Meta business assets
Select the business portfolio, Facebook Page and ad account that belong to the store. Similar names are a common source of error, especially when an owner or agency manages several businesses.
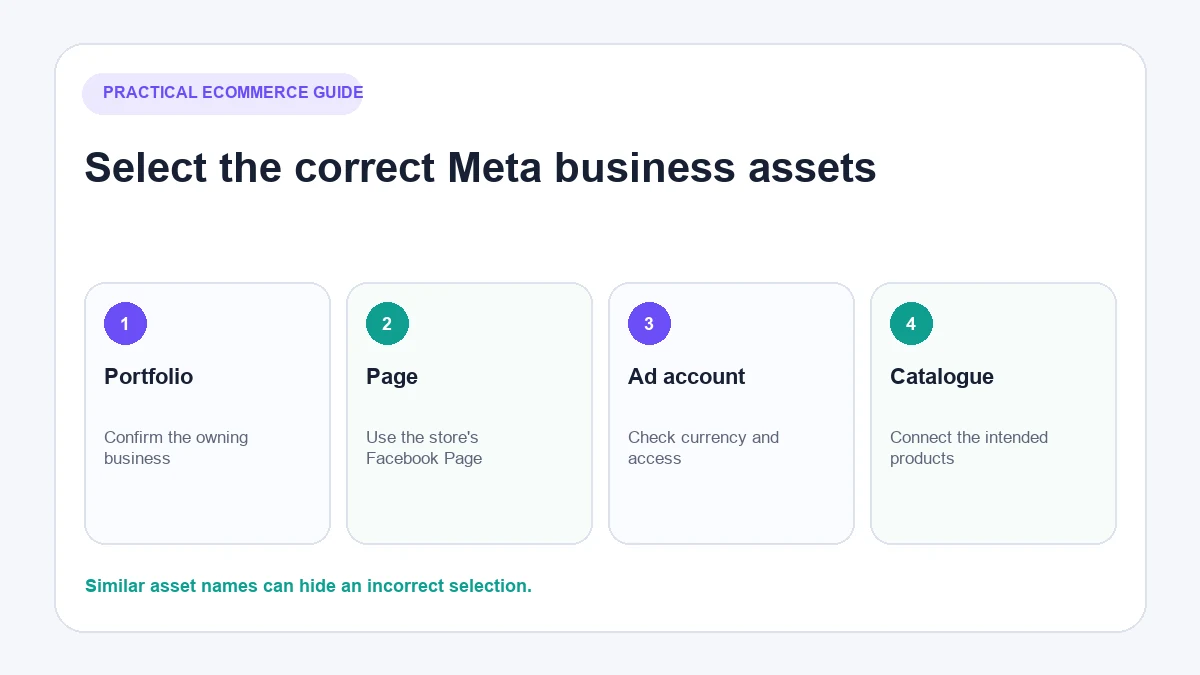
Before continuing, record the selected asset names and IDs in the business’s private operating documentation. Do not place IDs in public screenshots.
Step 3: Connect or create the product catalogue
Choose the catalogue that should receive Shopify product information. Review titles, descriptions, prices, images, availability and product destinations after the first sync. Resolve rejected products before building catalogue ads around them.
Step 4: Select the correct dataset or Meta Pixel
Choose the dataset associated with the ad account and store. If several pixels or datasets appear, confirm ownership and existing use before creating another one. A new asset can split history and leave old campaigns connected to a different source.
Step 5: Choose and review Shopify data sharing
Shopify’s Facebook data-sharing documentation explains how its settings use the Meta Pixel and Conversions API. Read the current description of each option rather than automatically selecting the setting with the strongest-sounding name.
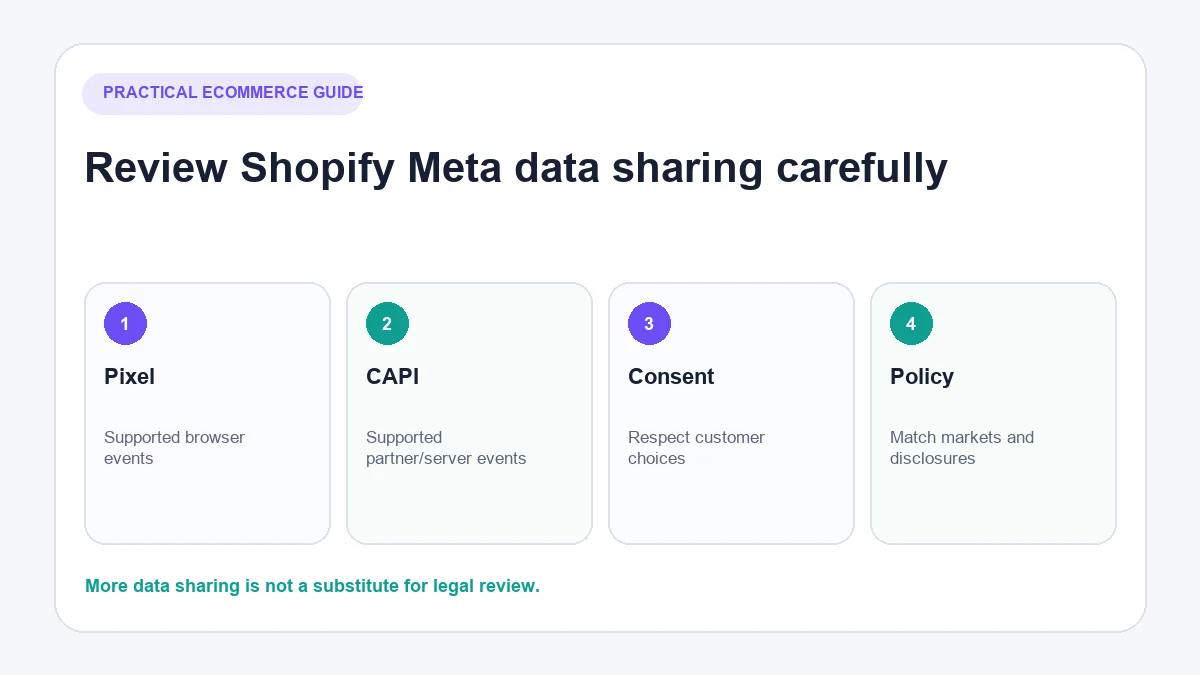
The appropriate setup depends on the store’s markets, consent system, privacy disclosures and internal policy. Platform settings do not replace the business’s legal obligations.
How Shopify’s Meta Pixel and Conversions API work together
The Meta Pixel sends supported browser events when a visitor performs actions on the Shopify storefront. Conversions API can send supported events through a server or partner connection. Meta says using Conversions API with the Pixel can create a more reliable connection than browser events alone because browser loading errors, connectivity issues and blockers can affect the Pixel.
However, Conversions API does not create perfect attribution. Nor is it a way to bypass consent requirements, browser choices or privacy rules. Meta states this explicitly in its Conversions API documentation.
The practical aim is to send accurate, permitted events with the correct values and identifiers, then understand that Meta and Shopify may attribute a sale differently. Each system uses its own data and attribution rules.
Verify events before spending money
Do not assume a successful account connection means every event is correct. Use Meta’s testing and diagnostics tools alongside Shopify orders.
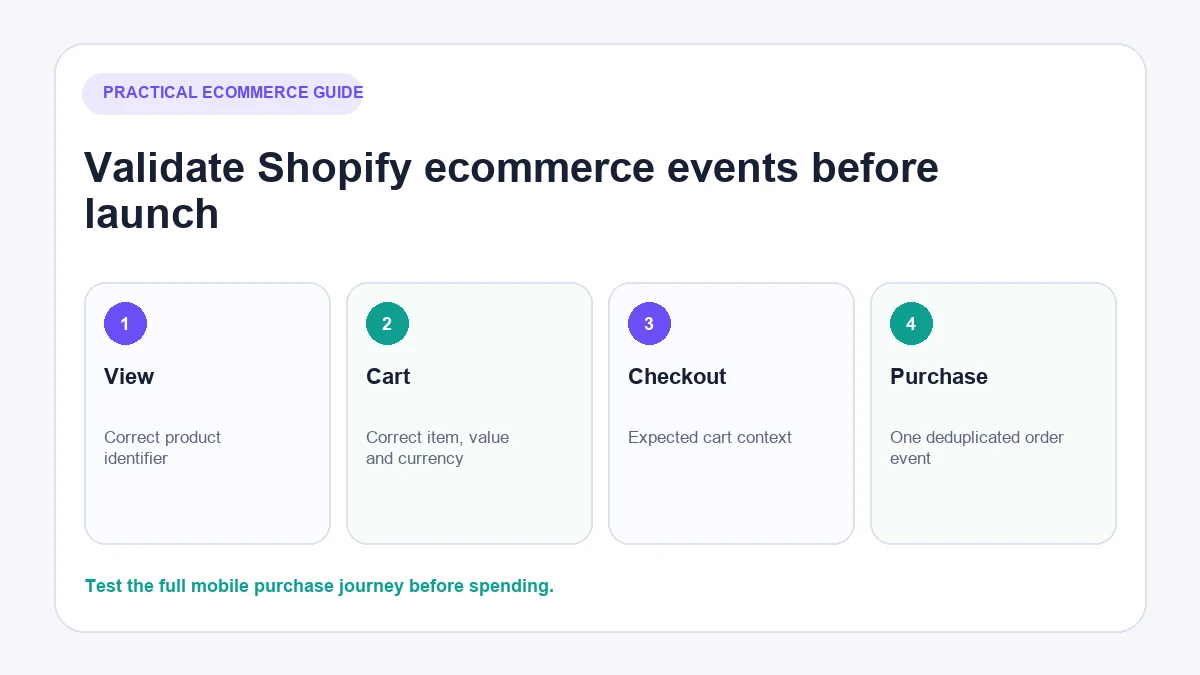
| Test | Action | Expected result | Common issue to investigate |
|---|---|---|---|
| Product view | Open an advertised product page | Correct view event and product identifier | Wrong item ID, duplicate event or no event |
| Add to cart | Select a variant and add it | Correct product, value and currency | Event fires before a valid variant is selected |
| Checkout | Begin checkout | Checkout event with expected cart context | Consent/configuration or theme/custom-script conflict |
| Purchase | Complete an approved test purchase | One purchase with correct order value and currency | Duplicate browser/server events, test mode or wrong dataset |
Check whether browser and server versions of the same event are deduplicated rather than counted as separate purchases. Review diagnostics, but investigate the underlying event rather than chasing a high score without understanding what changed.
How to run Facebook ads for Shopify in Meta Ads Manager
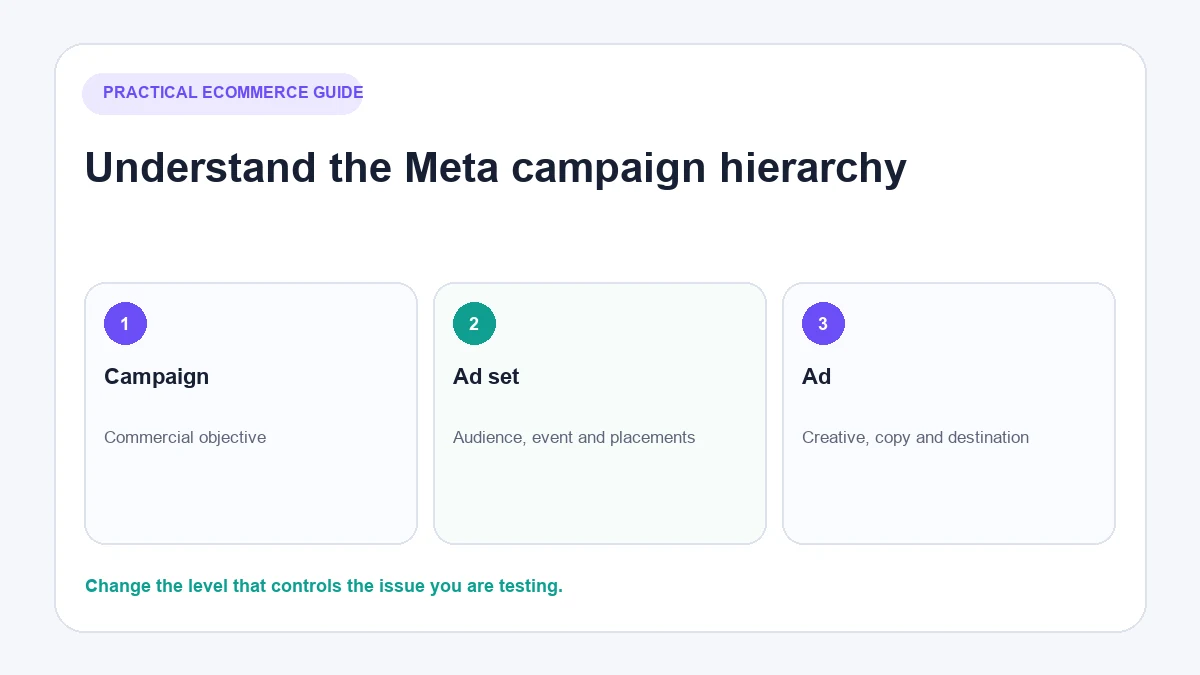
Meta advertising operates at three levels: the campaign establishes the objective; the ad set controls matters such as conversion location, audience, schedule and placements; and the ad contains the identity, creative, copy and destination.
Step 1: Create a campaign with the appropriate objective
Open Meta Ads Manager, confirm the ad account, select Create and choose the objective that matches the business outcome. For a Shopify campaign intended to generate website purchases, the Sales objective is normally the relevant starting point.
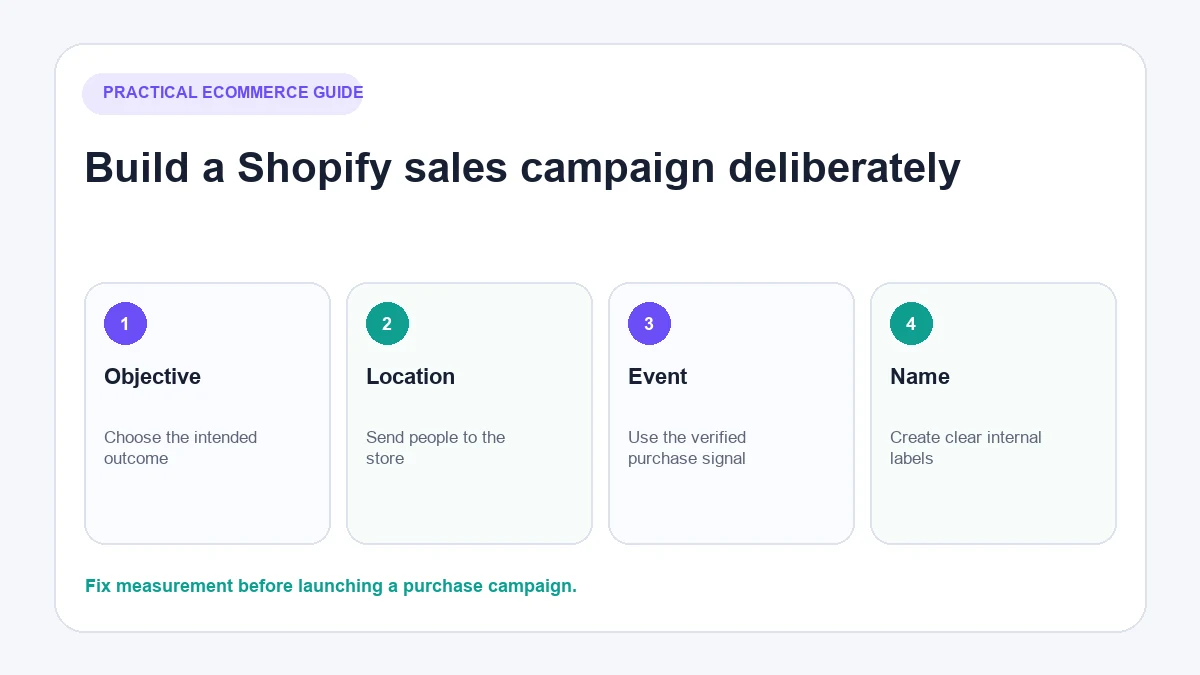
Name the campaign so another team member can understand the market, product or offer and test period. Avoid putting customer data in campaign names.
Step 2: Choose the conversion location and event
At the ad-set level, select the website or current equivalent as the conversion location, then choose the connected dataset and the event the campaign should optimise for. If purchase tracking has not been validated, fix measurement before launching a purchase campaign.
Optimising for an easier event simply because it occurs more often can produce more of that event rather than more sales. Choose the event that reflects the actual objective and for which the store can send reliable data.
Step 3: Set audience, geography and exclusions
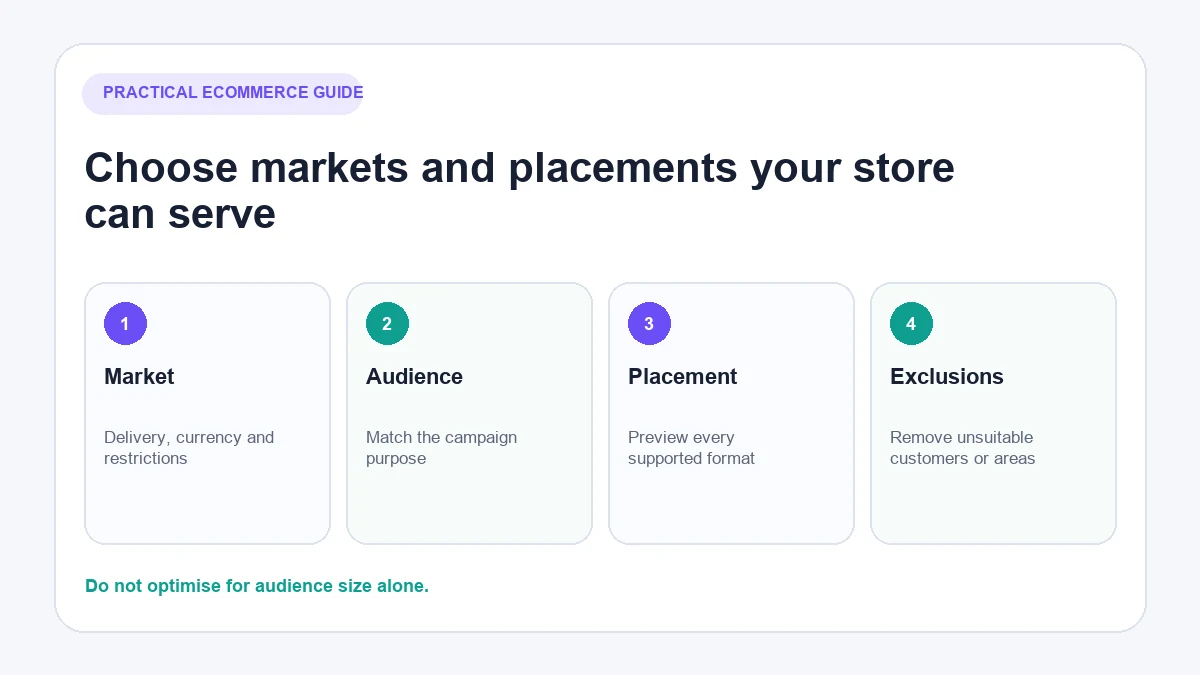
Start with markets the business can serve profitably. Consider delivery time, currency, product restrictions and customer-service coverage—not only potential audience size.
Use audience controls that match the campaign plan. Exclude inappropriate locations and, where necessary, existing customers or recent purchasers. Avoid stacking numerous assumptions until the audience becomes too narrow to learn from.
Step 4: Choose placements deliberately
Meta can distribute ads across Facebook, Instagram, Messenger and other supported placements. Automated placements can be a reasonable starting point when the creative works across the available formats. Manual placement is useful when there is a documented reason to restrict distribution.
Preview every placement. Text, safe zones and cropping can change between Feed, Stories and Reels. Do not approve an ad based only on the desktop Feed preview.
Step 5: Set a test budget based on economics
There is no universal daily budget that makes Facebook ads work. A useful test needs enough budget and time to generate decision-relevant data without risking money the business cannot afford to lose.
Use the break-even acquisition cost, realistic conversion volume and test purpose to set a limit. Decide in advance what evidence would justify continuing, revising or stopping the test. Avoid changing several settings every few hours; frequent changes can make the result difficult to interpret.
Step 6: Build the ad creative and copy
Choose the Facebook Page and, where relevant, connected Instagram identity. Add the image or video, primary text, headline, call to action and destination.
Show the product and its use clearly. Support important claims with evidence, and disclose material conditions. Avoid writing copy that promises a personal outcome the product cannot substantiate.
Step 7: Add the correct product-page URL and tracking parameters
Send shoppers to the page that fulfils the ad’s promise. A collection page may suit a multi-product message; a specific product advertisement normally deserves a specific product destination.
Add consistent campaign parameters where the team uses them, taking care not to expose private information. Test the final URL on mobile and confirm it survives redirects.
Step 8: Review and publish
Before selecting Publish, check:
- Business identity and ad account.
- Market, schedule and budget.
- Dataset and optimisation event.
- Product availability and destination.
- Price, offer dates and conditions.
- Creative crop and captions across placements.
- Tracking parameters and mobile load.
- Advertising-policy compliance.
Meta reviews ads before and sometimes after they begin running. Approval does not remove the advertiser’s responsibility for accuracy or local compliance.
Build an ad that matches the Shopify product page
The ad and landing page should feel like two parts of the same explanation.
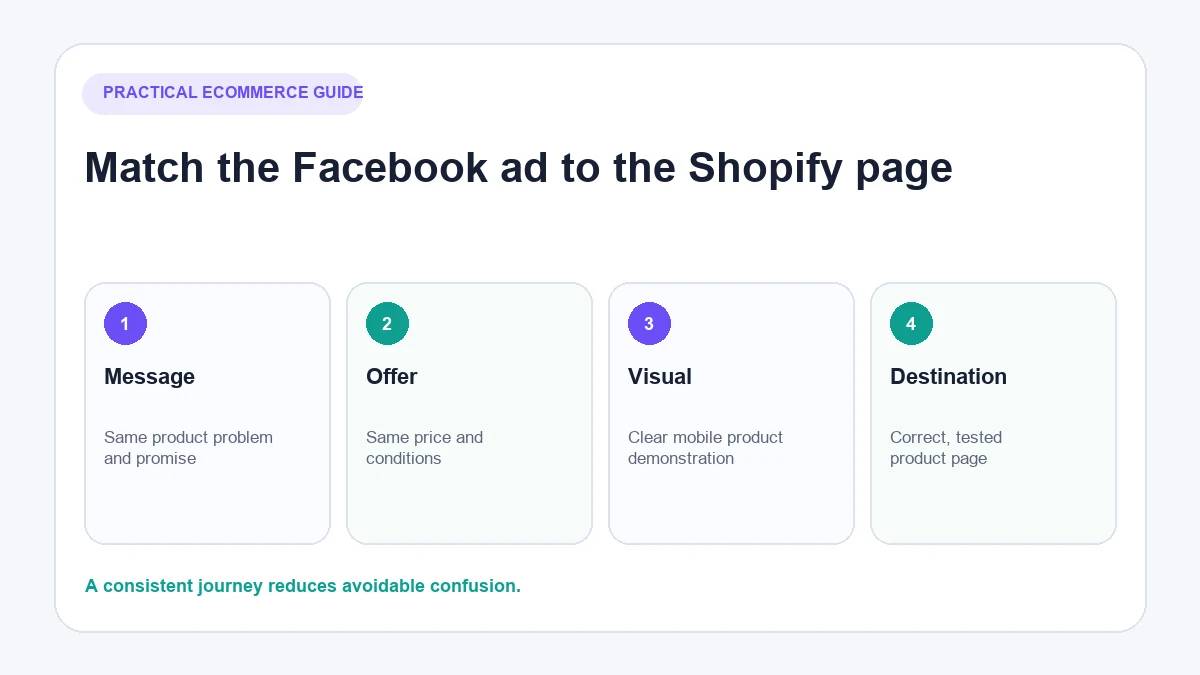
Lead with the customer problem or desired use
Make the relevance clear without implying sensitive personal attributes. Demonstrate the situation the product addresses and who it is designed for.
Demonstrate instead of exaggerating
Show fit, scale, texture, setup or operation where these details matter. A credible demonstration can answer more objections than a string of superlatives.
Match the offer on both sides
Price, discount, bundle contents, delivery claim and availability must match the product page. If a promotion expires, remove or update the ad promptly.
Design for mobile placements
Use legible text, clear product framing and suitable aspect ratios. Add captions when speech is essential. Keep critical details away from interface overlays and cropping zones.
What to monitor after launch
Do not evaluate the campaign with ROAS alone. Review the funnel in sequence.
Delivery and creative signals
Impressions and cost per thousand impressions show delivery cost, while click-through and video behaviour help assess whether the creative earns attention. These are diagnostic signals, not business outcomes.
Product-page behaviour
Compare outbound clicks with landing-page views and engaged Shopify sessions. A large gap can point to load speed, accidental clicks, redirects, consent behaviour or tracking differences.
Checkout behaviour
Review product views, add-to-carts, checkout starts and purchases. Segment by device, market, product and landing page where enough data exists to make the comparison meaningful.
Purchase economics
Compare acquisition cost with contribution margin, not revenue alone. Include returns, discounts and fulfilment effects. A campaign can show positive platform ROAS while still losing money after costs.
Expect Meta and Shopify totals to differ. Attribution windows, consent, cross-device behaviour, modelled conversions and returning shoppers can all affect reporting. Investigate material discrepancies instead of forcing the dashboards to match exactly.
Diagnose Facebook ads that are not generating Shopify sales
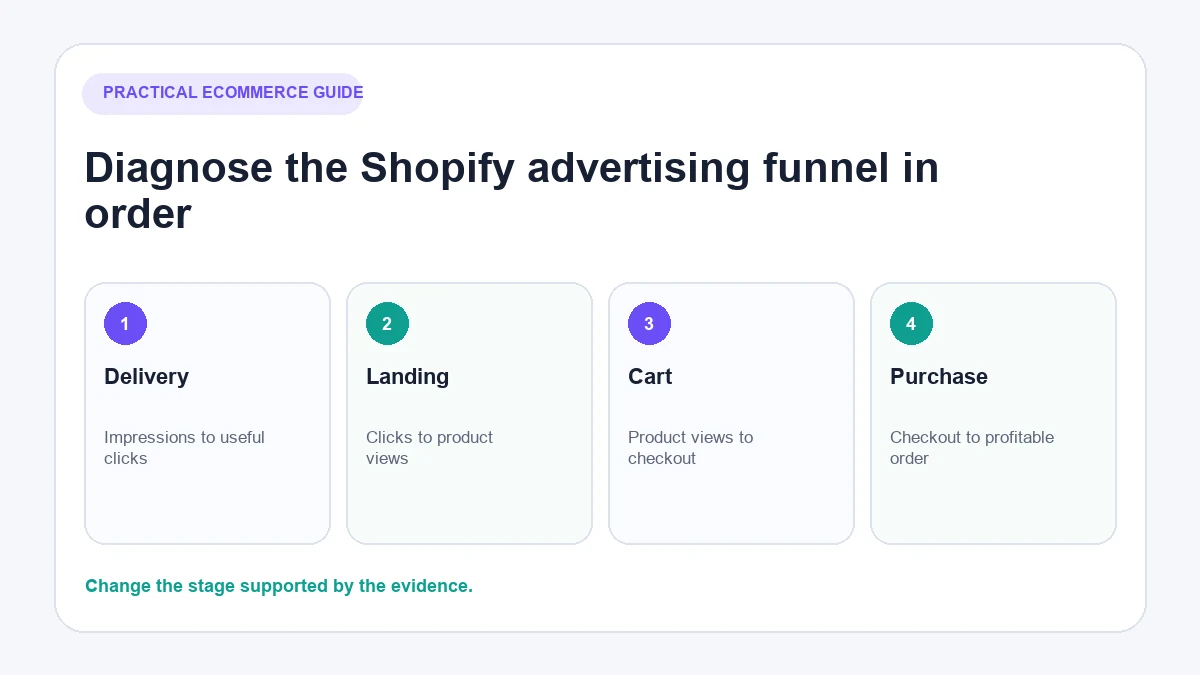
| Symptom | Likely area to inspect | First checks |
|---|---|---|
| Impressions but few useful clicks | Creative, message or audience | Product clarity, hook, offer, placement preview, market fit |
| Clicks but few landing-page views | Link or page loading | Final URL, redirects, mobile speed, broken variants, tracking |
| Product views but few add-to-carts | Product/offer mismatch | Price, proof, variant availability, delivery, ad-to-page consistency |
| Add-to-carts but few checkouts | Cart friction | Unexpected costs, checkout errors, delivery restrictions, trust |
| Checkout starts but few purchases | Payment or final-stage friction | Payment methods, errors, taxes, address rules, discount behaviour |
| Shopify sales but limited Meta attribution | Measurement | Dataset, event values, deduplication, consent, attribution settings |
Change the part of the system supported by the evidence. Replacing an ad will not fix a broken checkout, and redesigning a product page will not fix delivery to an ineligible market.
How AeroChat supports shoppers after they click an ad
Paid traffic often creates questions before it creates orders. A shopper may need to confirm compatibility, availability, delivery timing, return conditions or the difference between two products.
AeroChat is an AI agent platform that helps Shopify merchants run customer service on autopilot. Its Shopify integration can use approved business and connected-store information to answer relevant product and support questions across supported channels, with human handover when a person is needed.
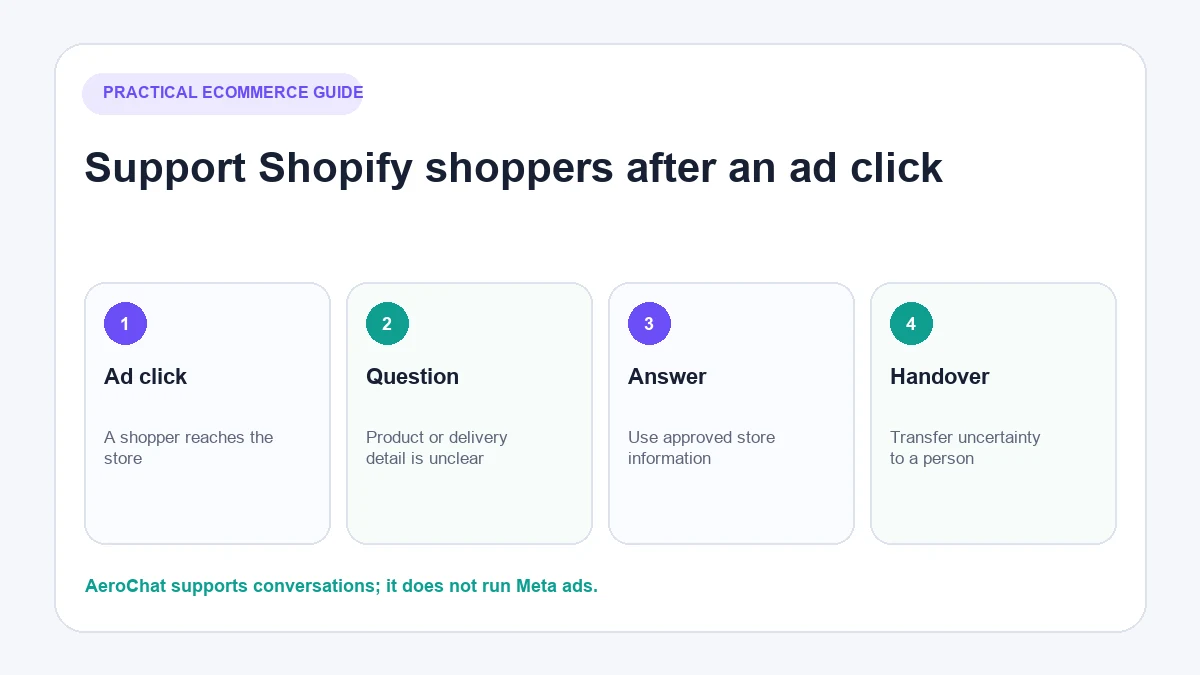
AeroChat does not create, target, publish or optimise Facebook ads, and it should not be used to explain weak campaign attribution. Its role begins when visitors need help understanding the product or store. Merchants can review how to set up a Shopify chatbot and how AeroChat trains on approved business information.
AeroChat is generally a growth-stage support investment rather than a required first-ad expense. It becomes more relevant when paid and organic traffic produce more customer enquiries than the team can answer consistently.
Best for: Shopify merchants who want to automate and scale customer service without extra manpower and costs.
Pre-launch checklist for Shopify Facebook ads
- Confirm the store, offer, product page and mobile checkout are ready.
- Record break-even acquisition cost using current costs.
- Connect the correct business portfolio, Page, ad account, catalogue and dataset.
- Review data-sharing and consent requirements.
- Test product view, add-to-cart, checkout and purchase events.
- Choose the objective, conversion location and event that match the commercial goal.
- Preview creative and copy across placements.
- Confirm prices, promotion conditions, stock and destination URLs.
- Decide the test budget, review period and stop conditions before launch.
- Prepare accurate answers and a human route for customer questions.
Running Facebook ads for a Shopify store is not a one-time integration task. It is a controlled feedback loop between the advert, the customer, the storefront, a Shopify AI chatbot that handles product and order questions, and the economics of fulfilling the order. Build that loop correctly before trying to scale it.
Facebook ads are one of the primary paid traffic channels for Shopify stores, often used alongside Instagram content. The Instagram posting time guide covers the organic channel that often works alongside paid Facebook traffic, and ecommerce content strategy covers the longer-term organic approach that reduces paid traffic dependence over time. For stores retargeting customers through Messenger, adding Facebook Messenger to a website covers the setup that makes retargeting conversations work.