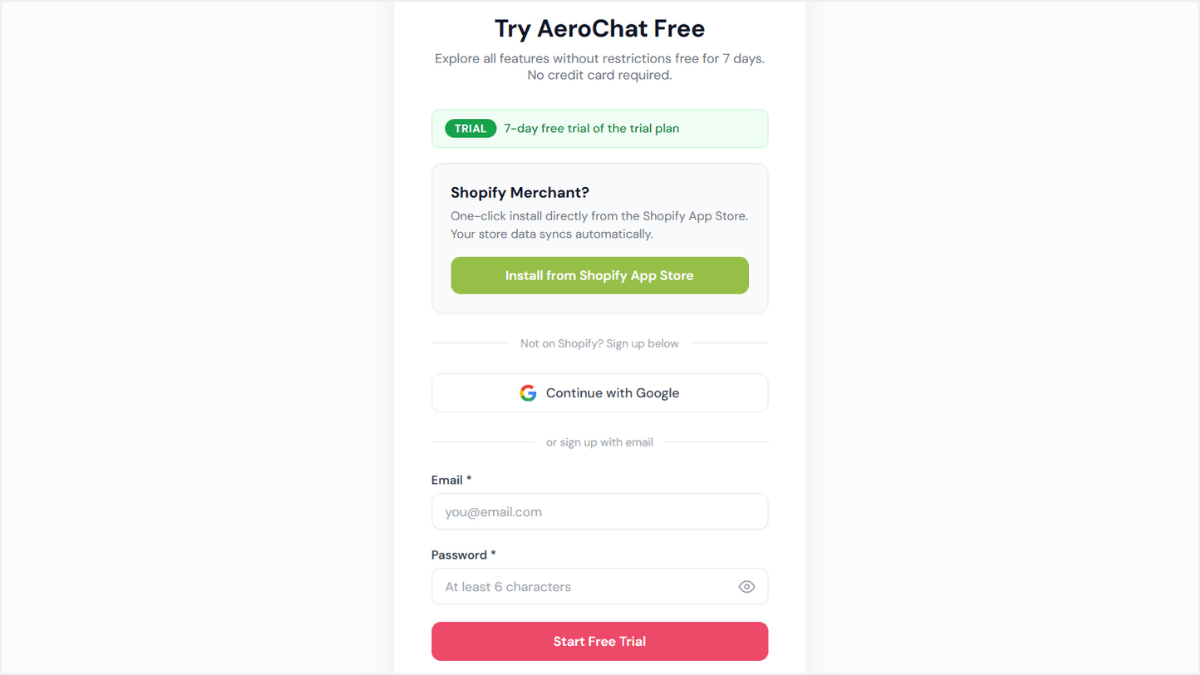
Setting up your AeroChat account
Step 1: Create Your Account
To get started, create your workspace.
Go to the AeroChat signup page.
Enter your Email Address and create a Password.
Click Start Free Trial. No credit card required.

Step 2: Brand Your Bot
Give your bot a personality that reflects your business.
Go to Settings in the left-hand menu.
Enter your Business Name and Website URL.
Customize your welcome and greeting messages to automatically greet customers.

Pro Tip: Scroll down to upload your company logo so customers instantly recognize your brand.
Click Save Changes.

Step 3: Upload Your Business Knowledge
This is the most important step: teaching your AI how to answer customers.
Click the Business Knowledge tab.
Click + Upload File(s) to upload your FAQs, product manuals, or company docs (PDF, DOCX, or TXT).
The AI will automatically train on this data and provide accurate answers 24/7.

Step 4: Test Your Bot
Before going live, test your bot to ensure it responds accurately.
Select Test Your Bot from the menu.
Type a common customer question into the chat box.
See how the AI pulls answers from the documents you uploaded.

Connect Your Channels
Now that your bot is trained and ready, it’s time to connect it to the platforms where your customers are.
Navigate to the Channels tab in the sidebar.
Select your preferred platform, such as Web Chat, WhatsApp, or Facebook Messenger.
Follow the on-screen instructions to integrate the bot.
Note: Note: For detailed setup instructions, visit our full integration guides.
