How to install on Wix
Step 1: Access and Edit Your Site
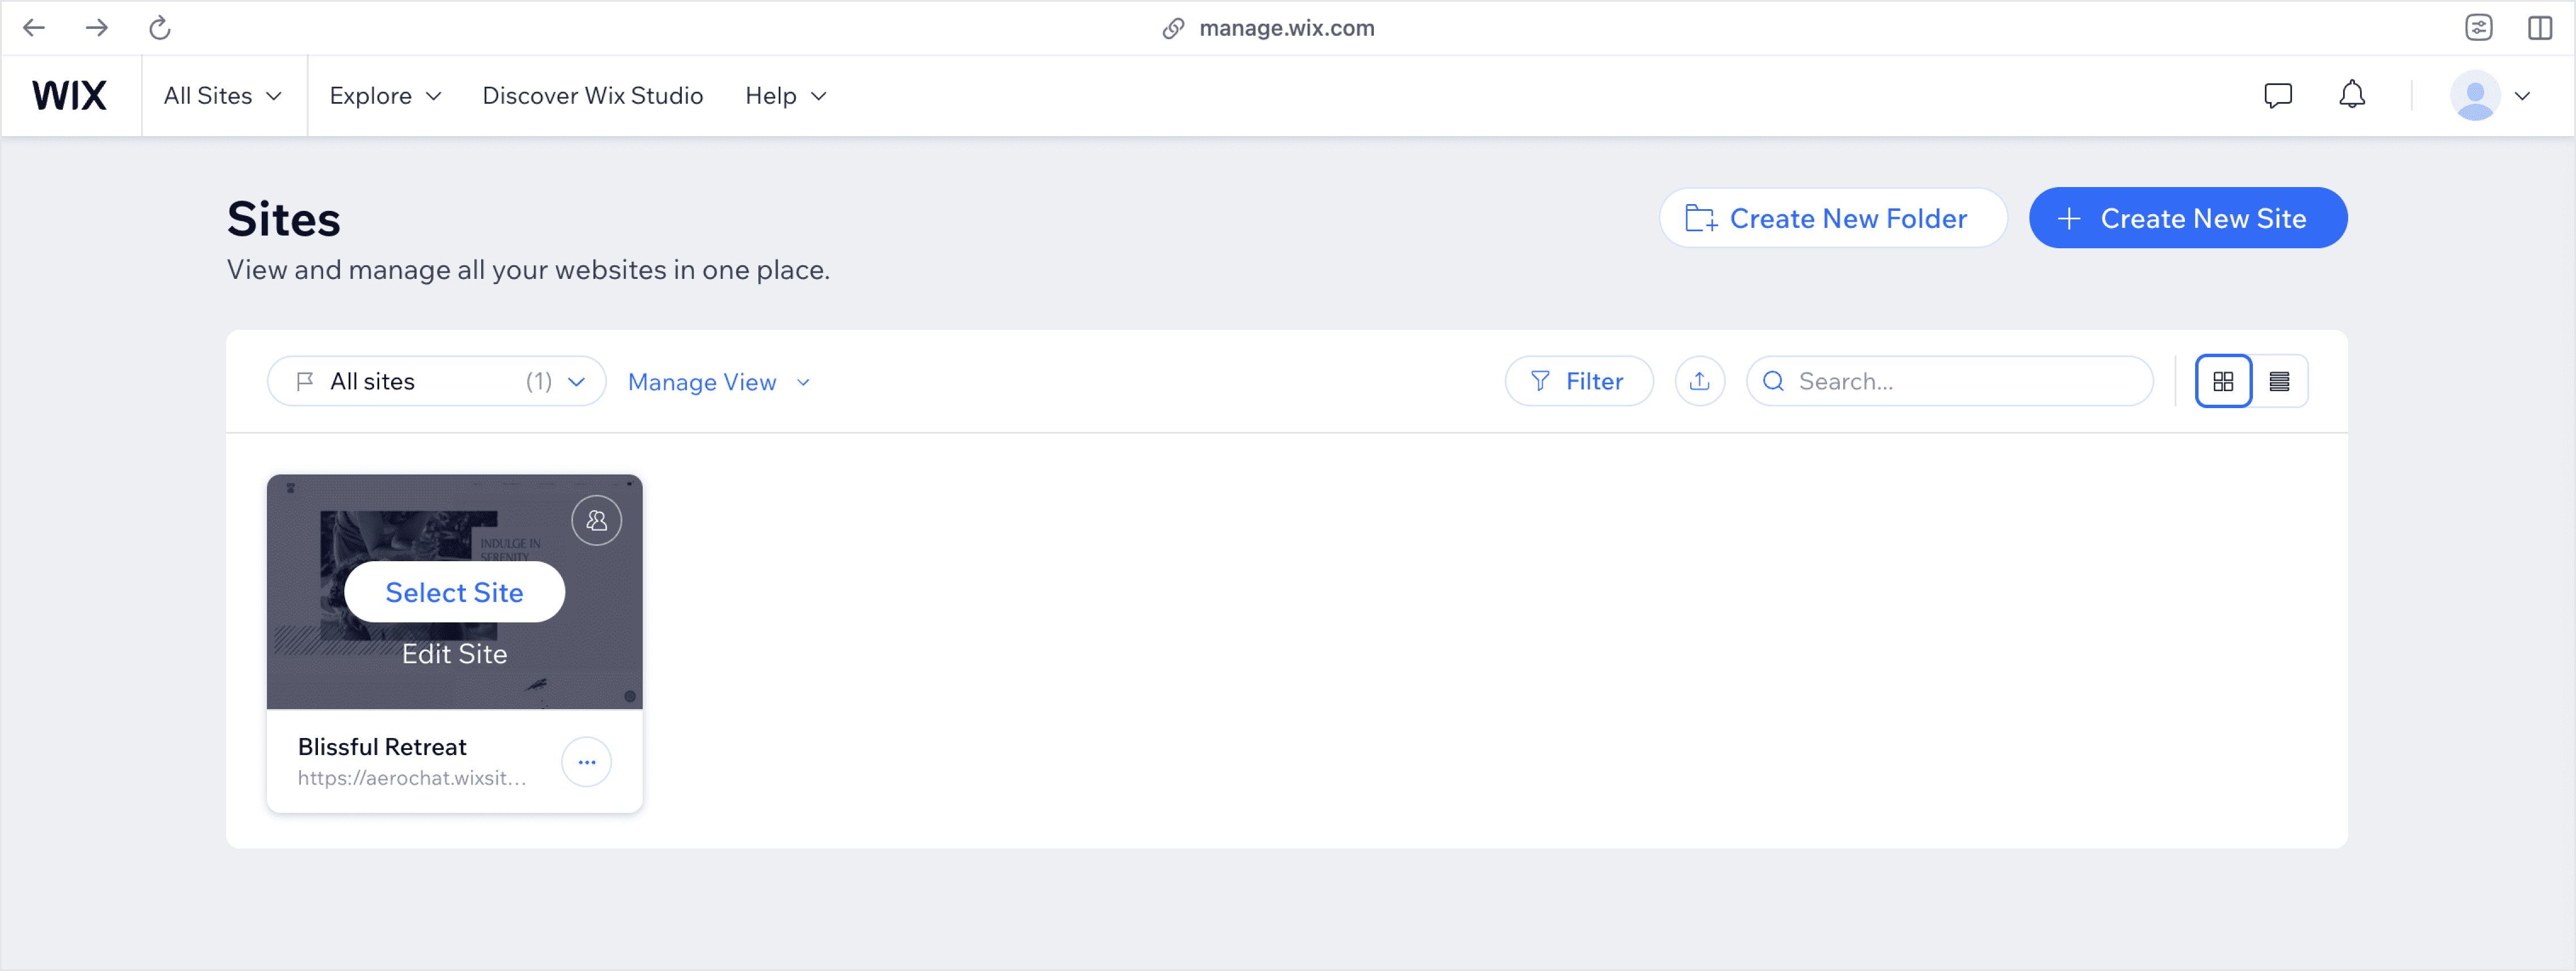
Log in to your Wix account, navigate to your site management page, and hover over the site you want to update. Click Edit Site to open the Wix Editor.
Step 2: Add the Embed Code
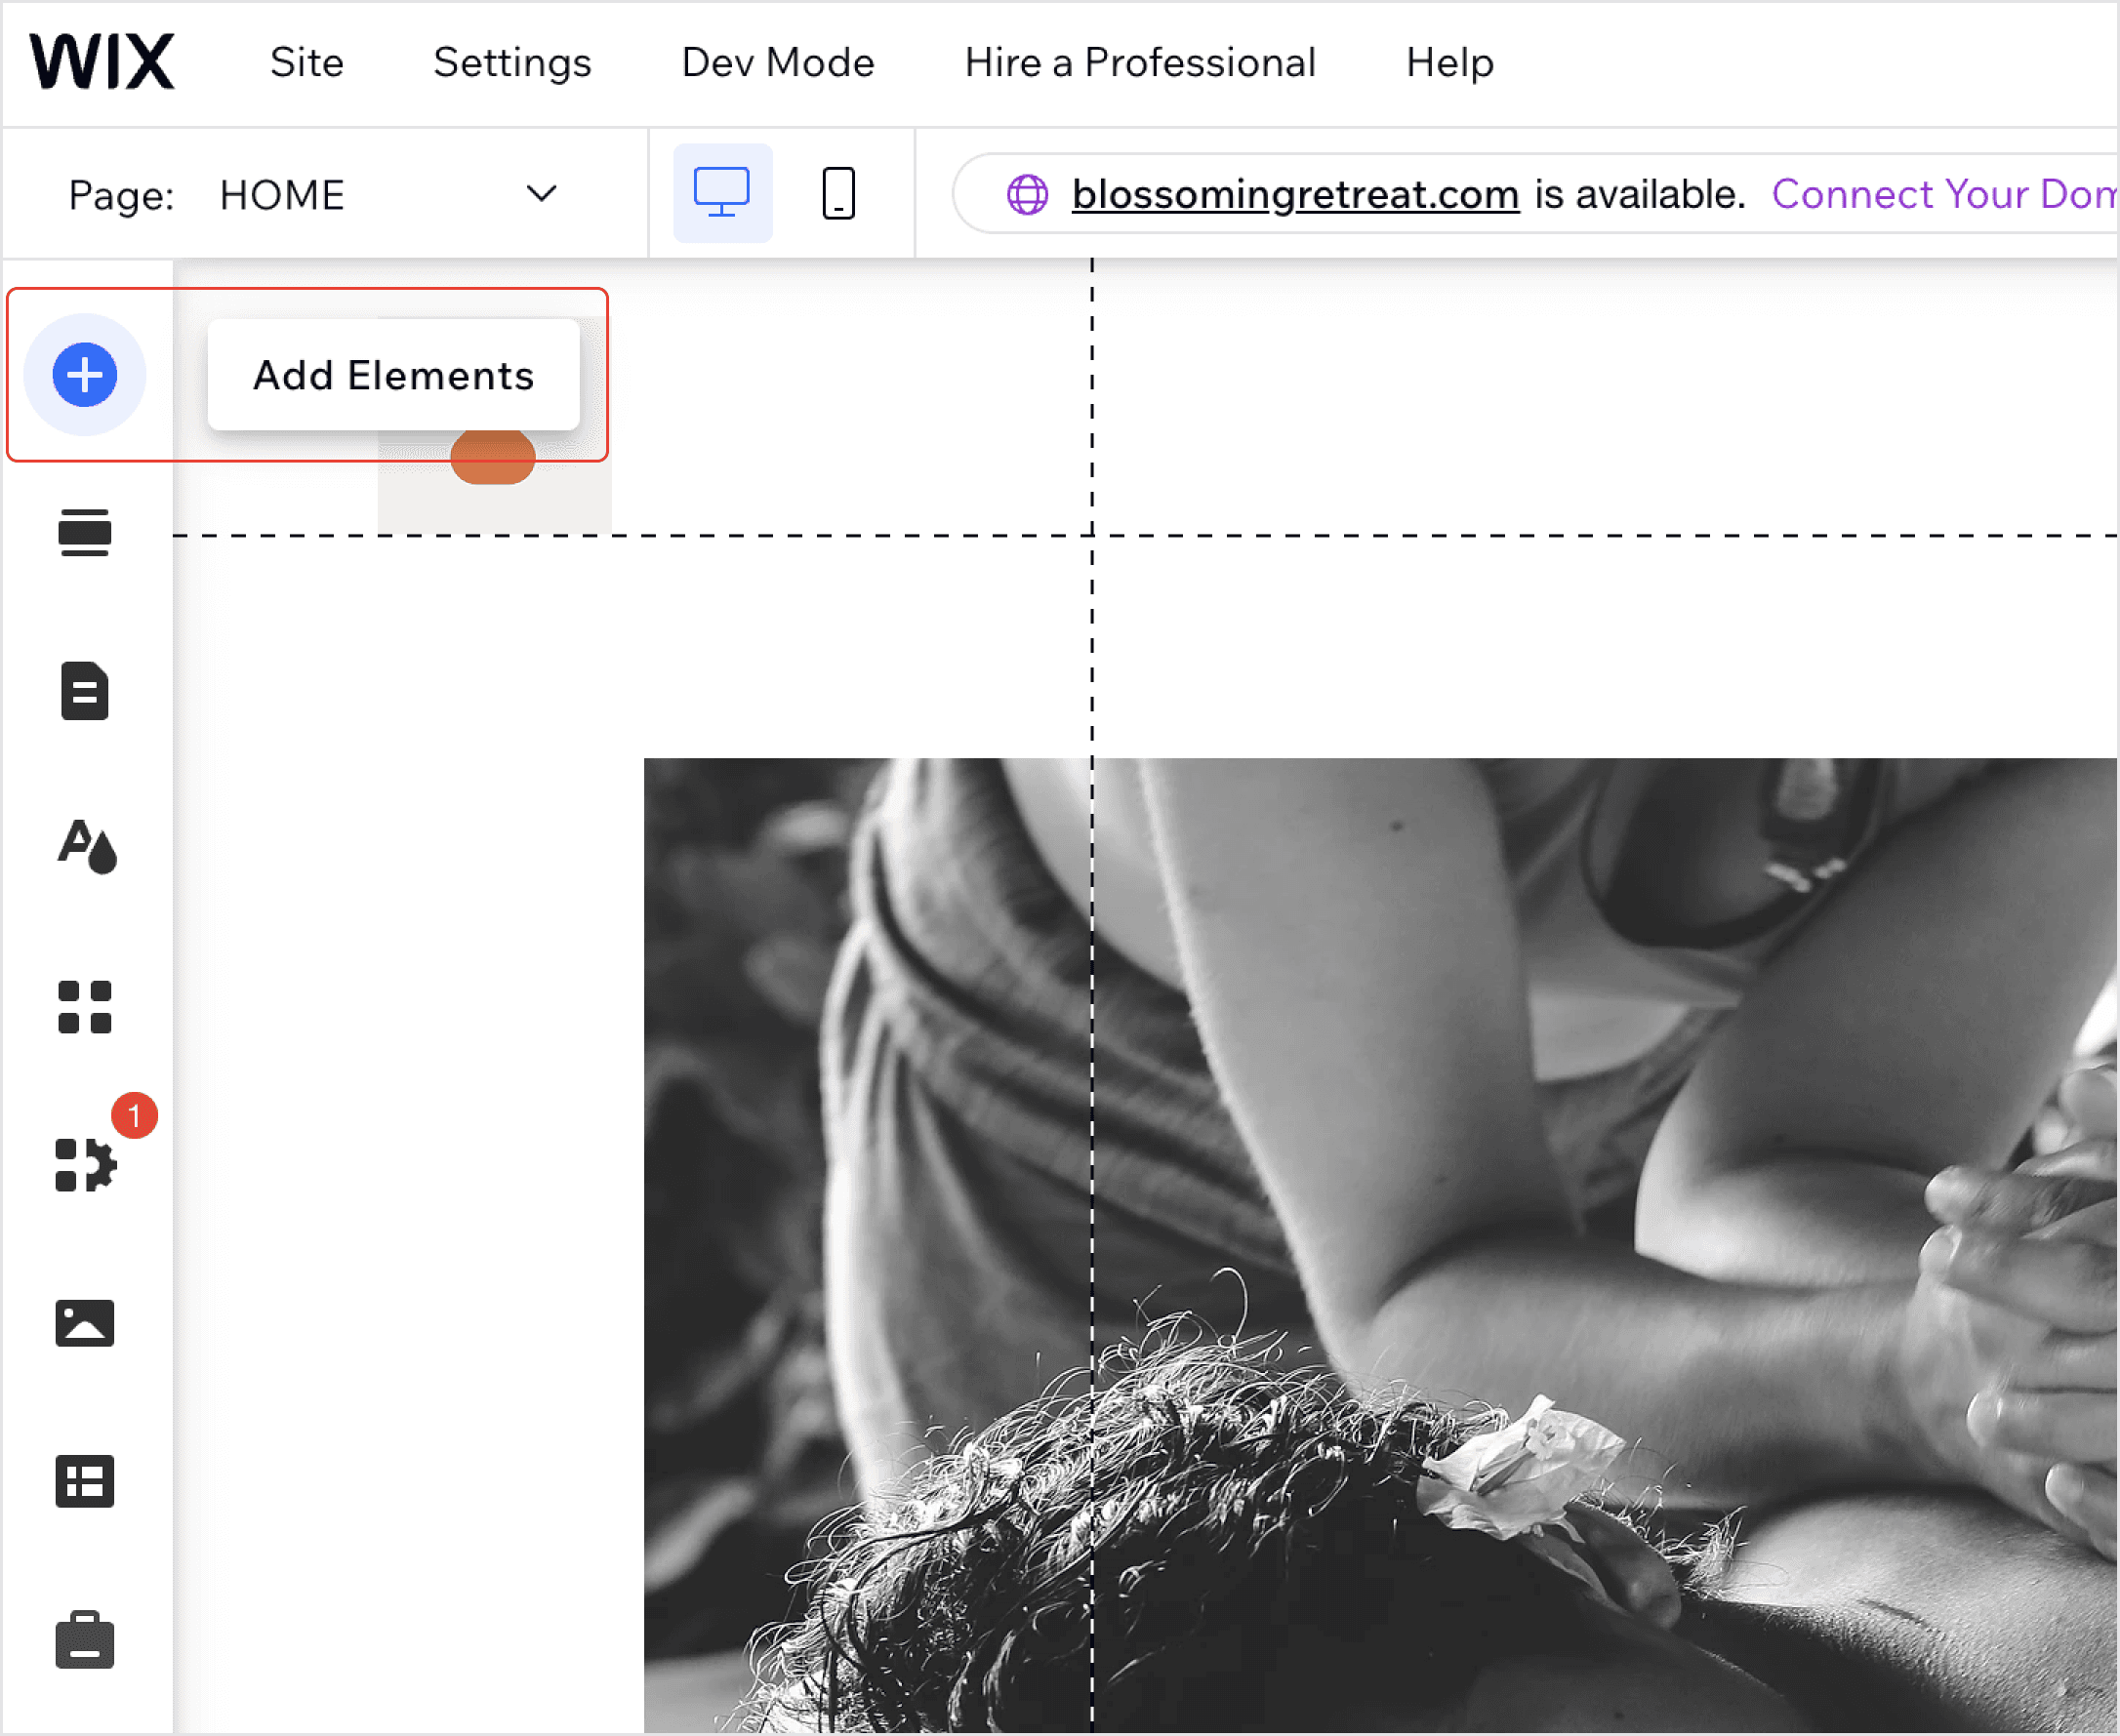
From the left-side panel in the Wix Editor, click Add Element.
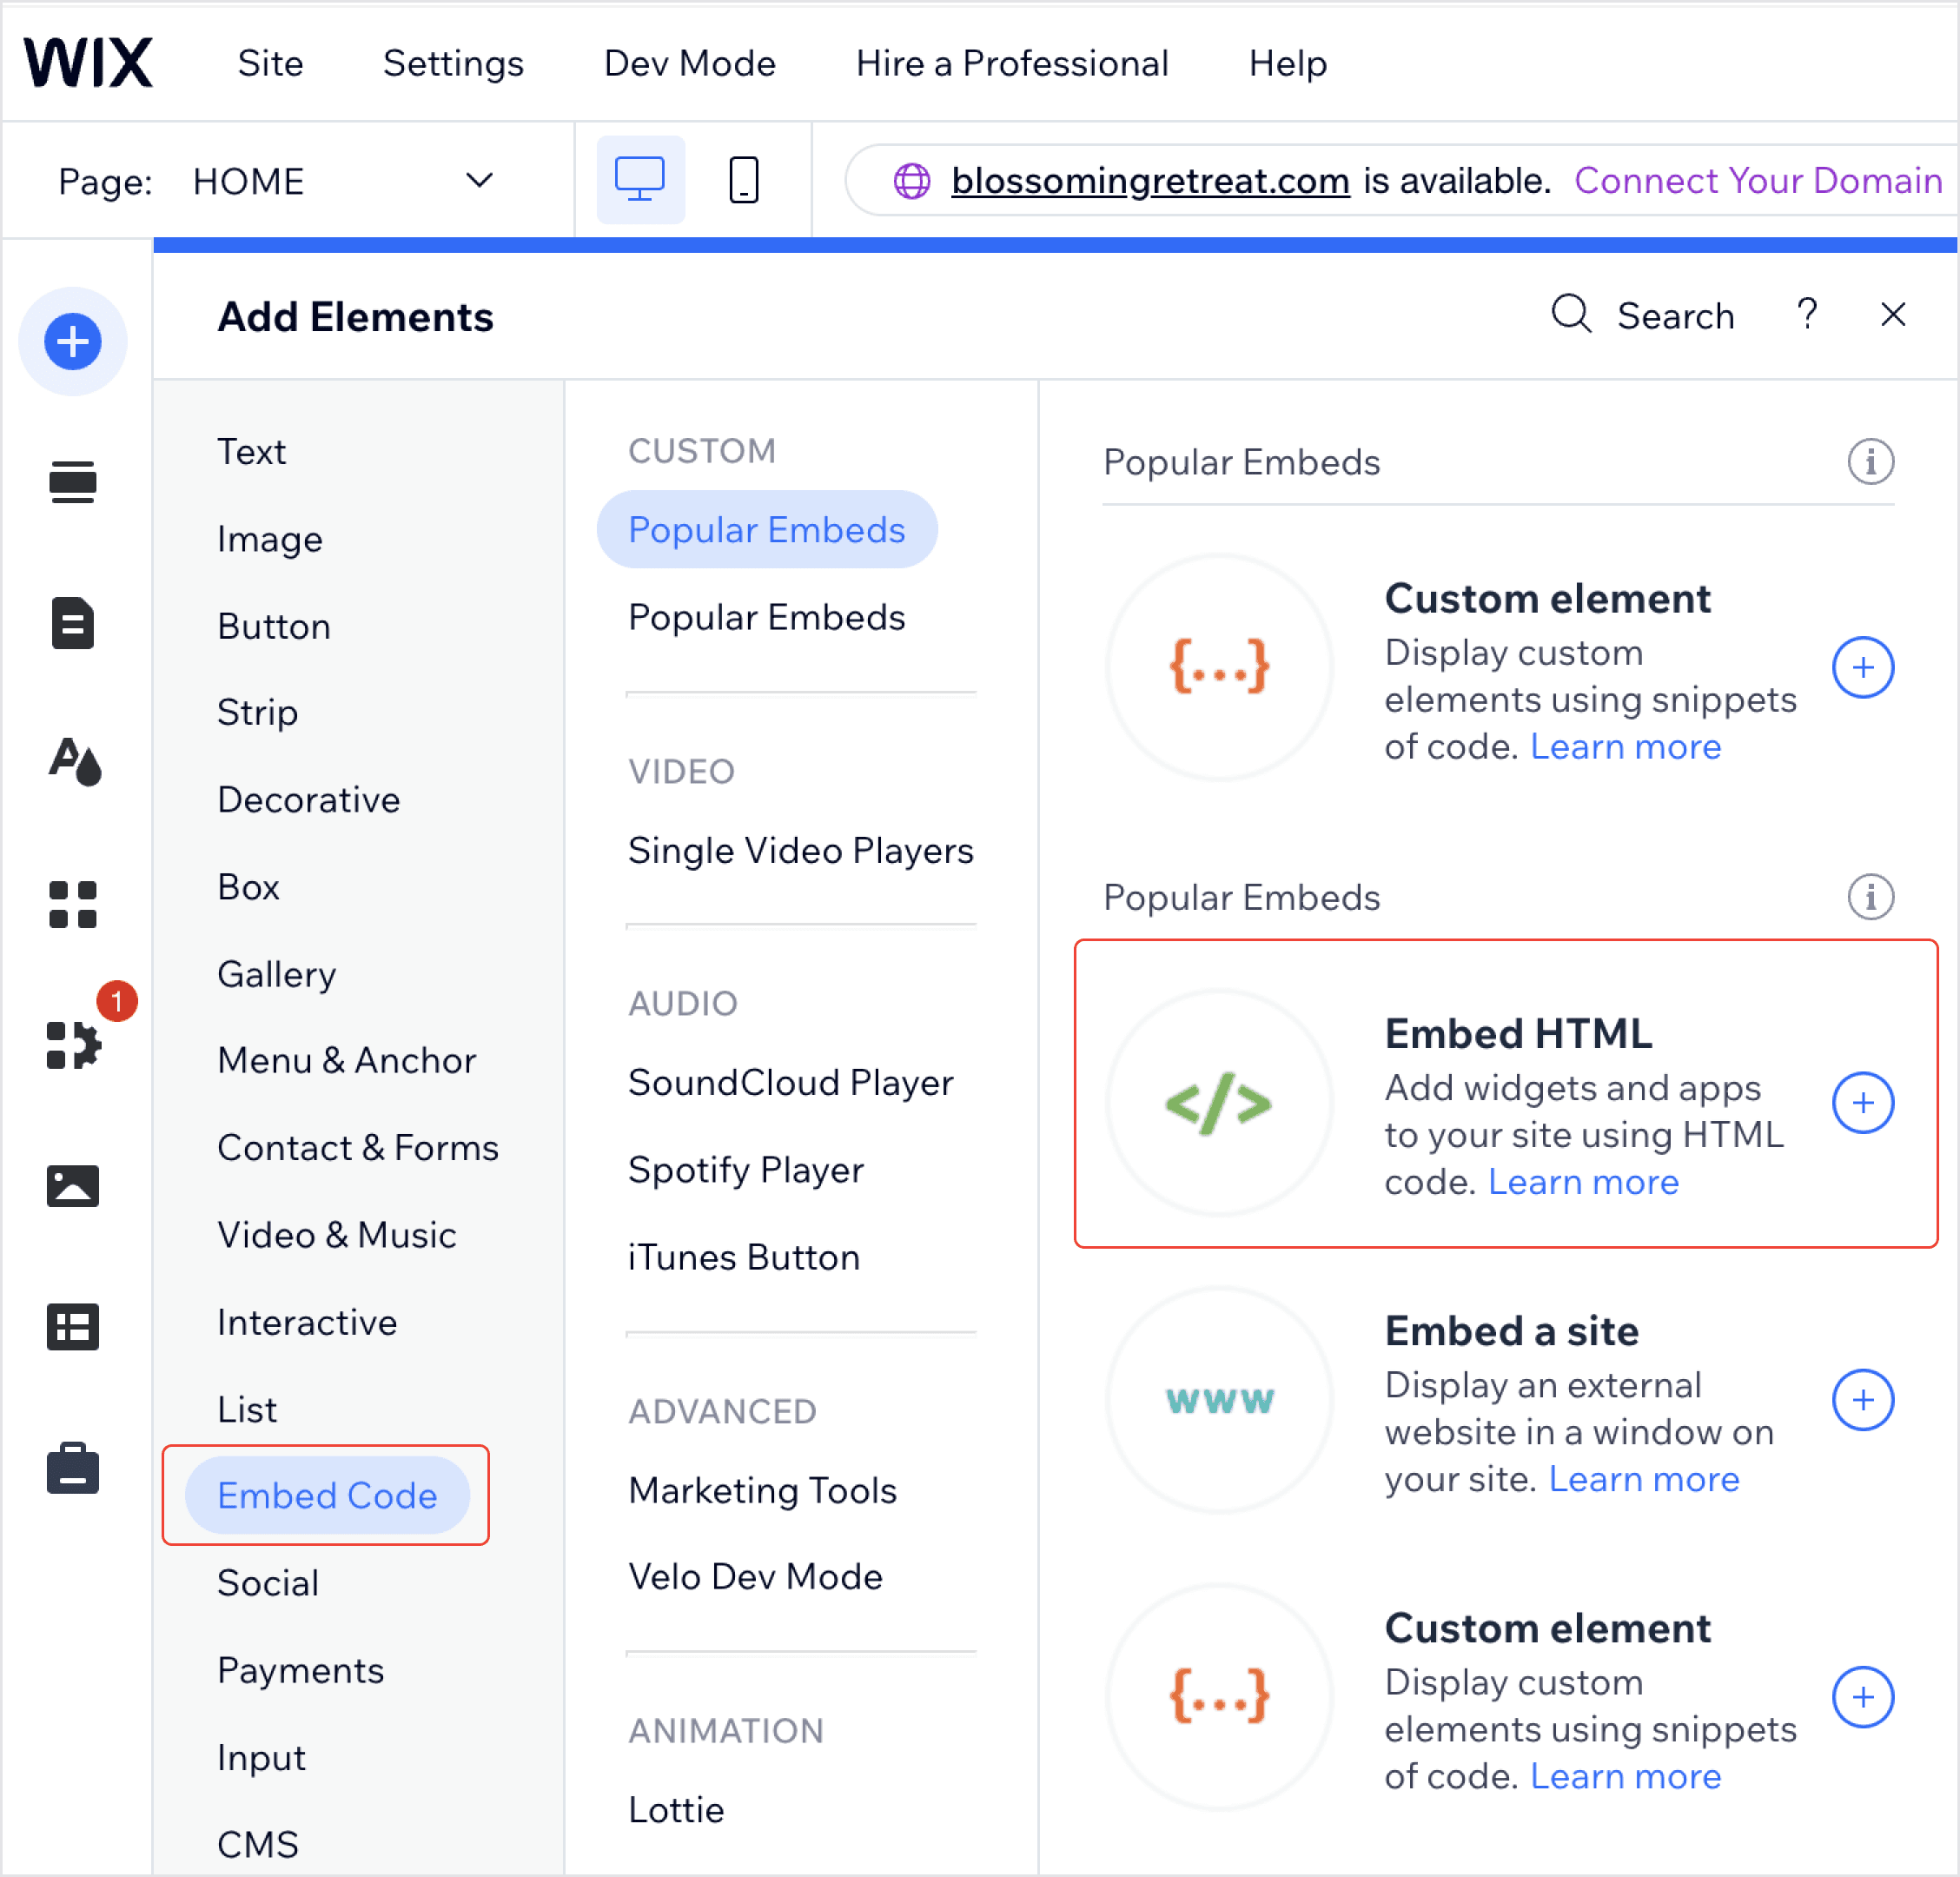
Scroll down to the Embed Code section and select Embed HTML.
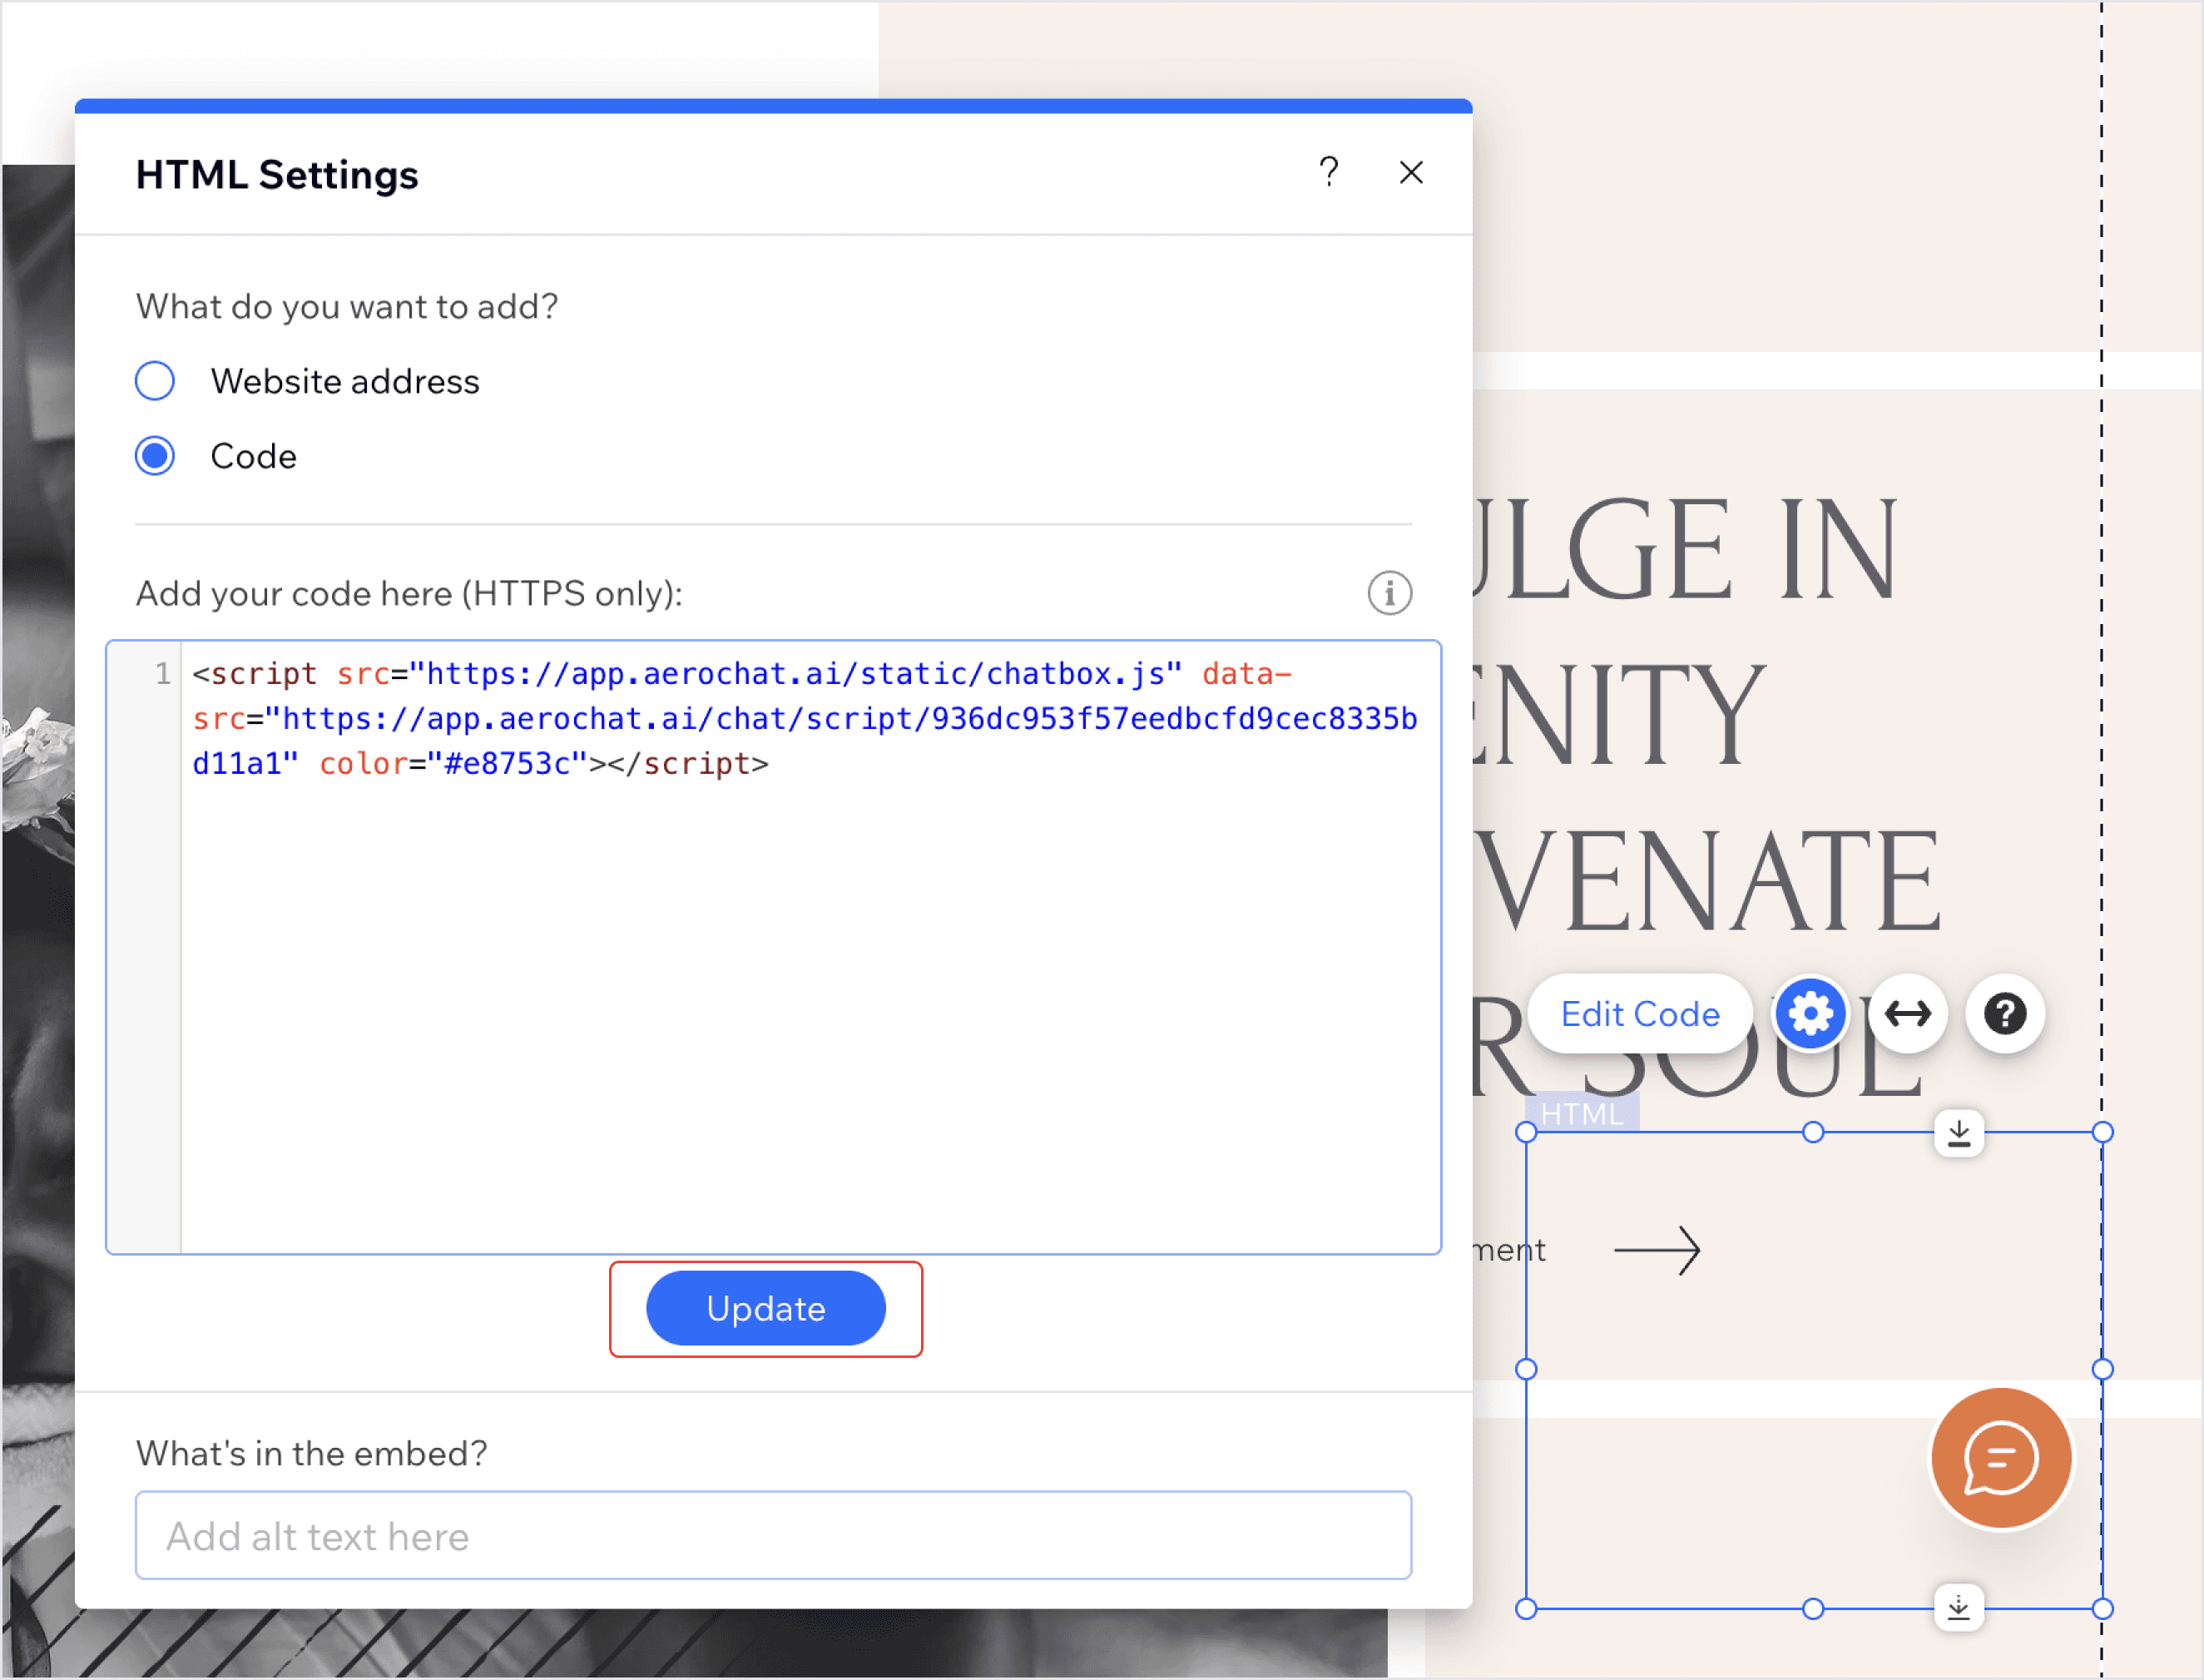
Paste your AeroChat embed code into the provided field and click the Update button.
Step 3: Position the Chat Widget adn Publish
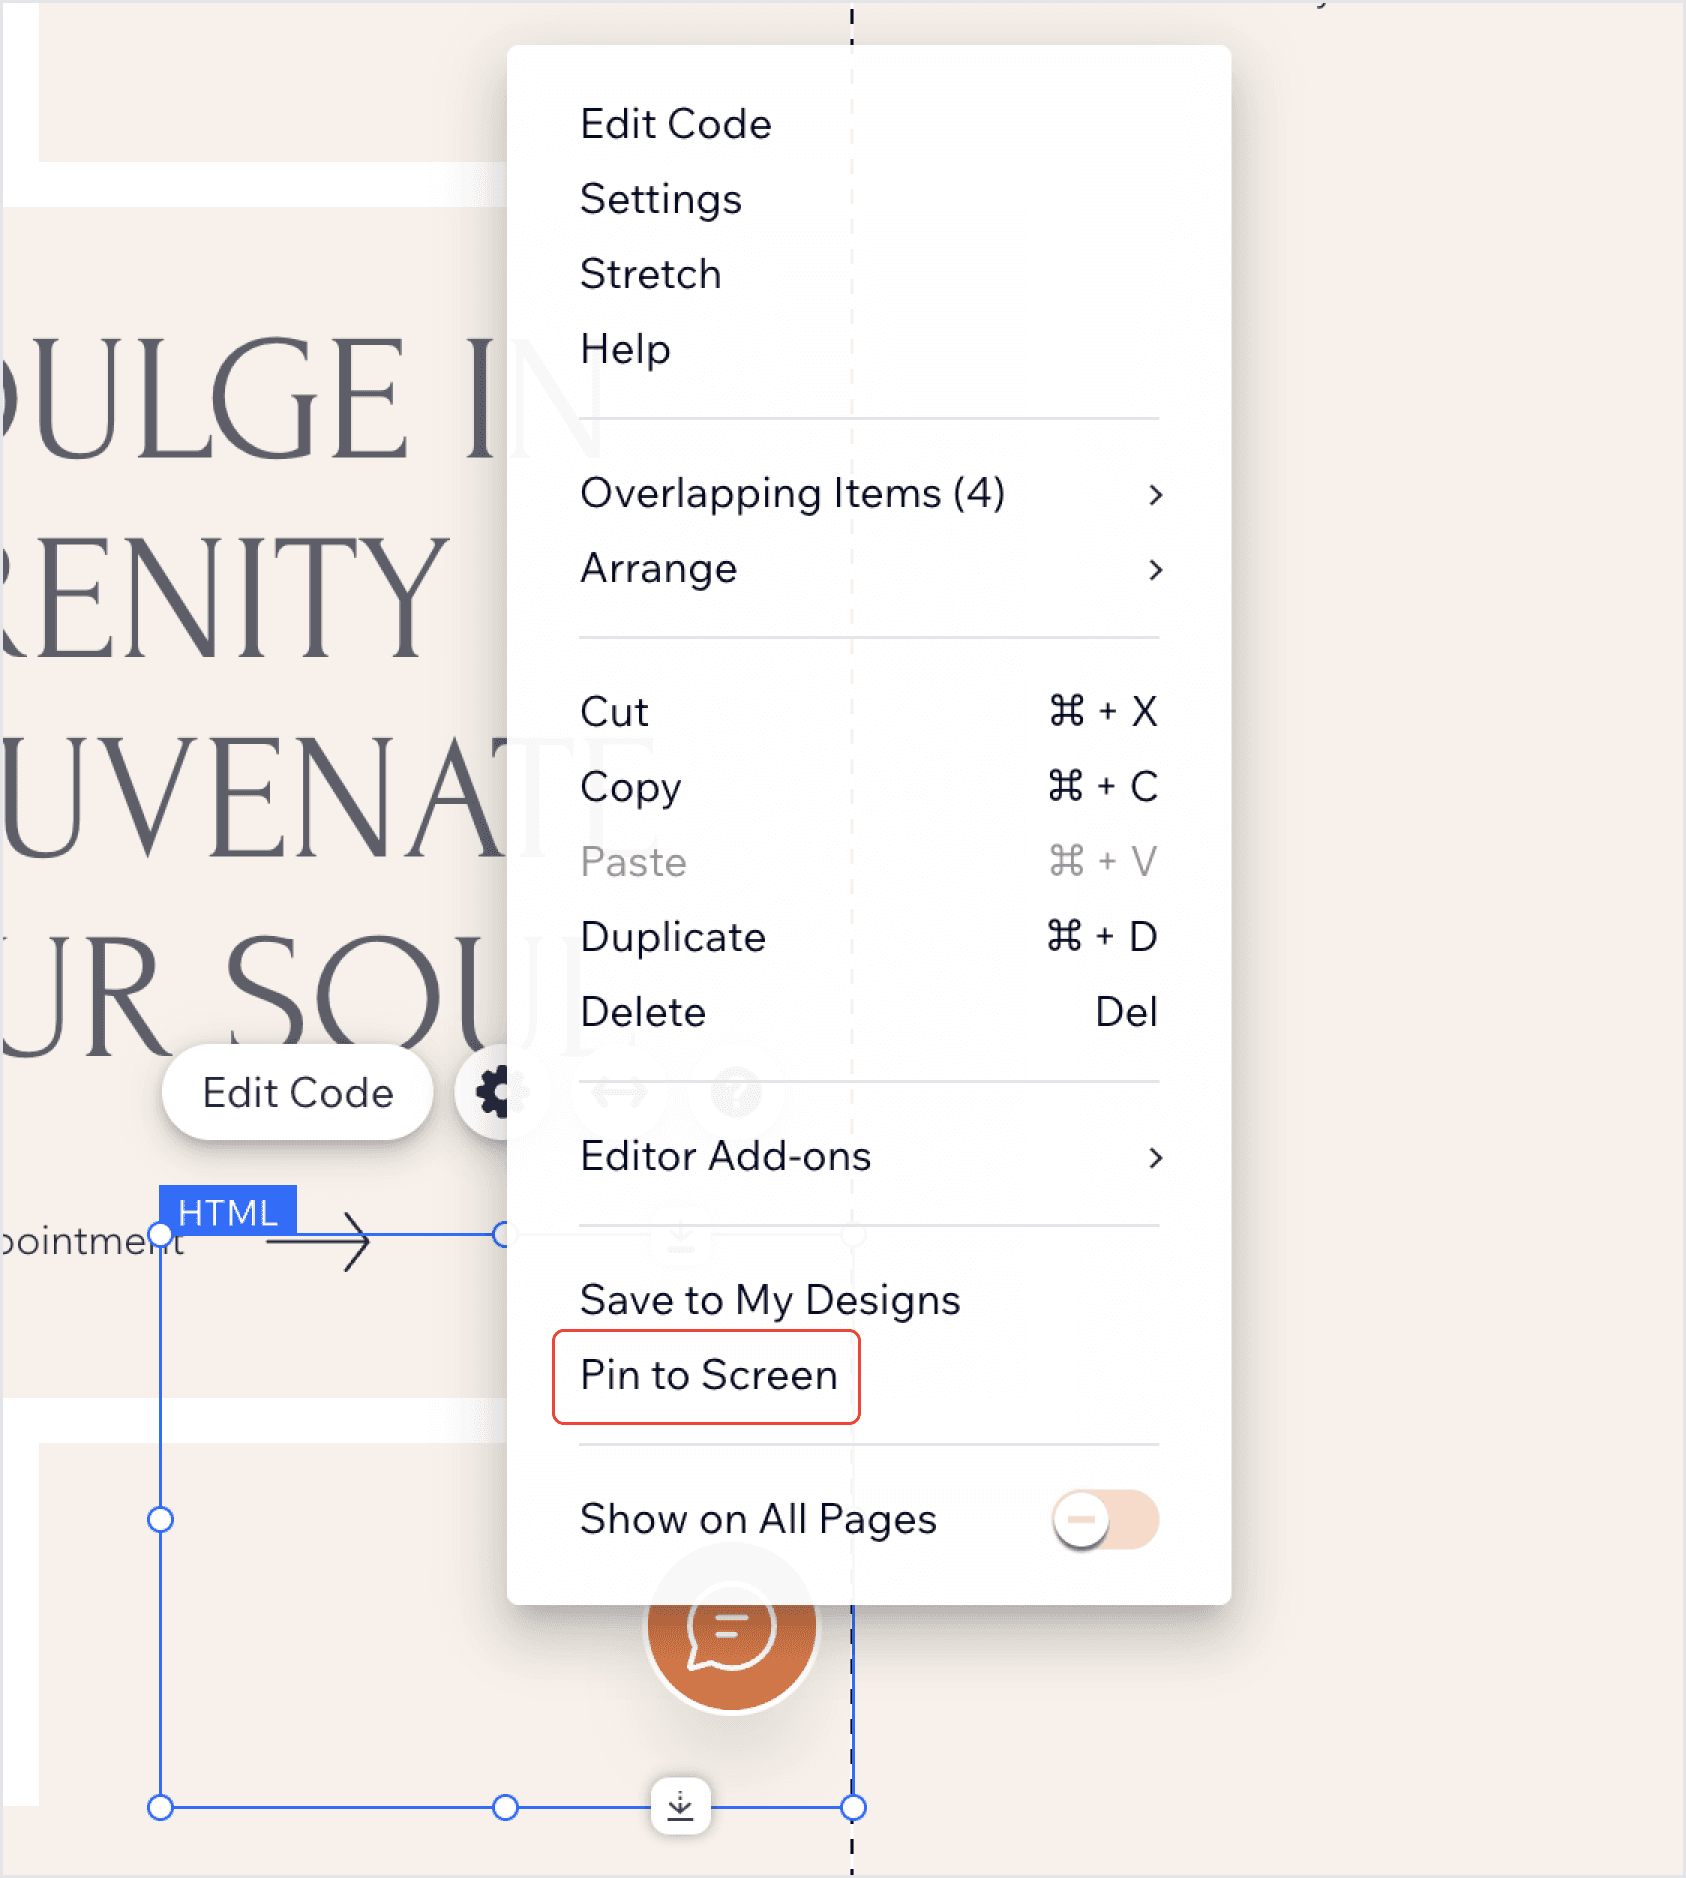
Right-click the embedded HTML element and select Pin to Screen.
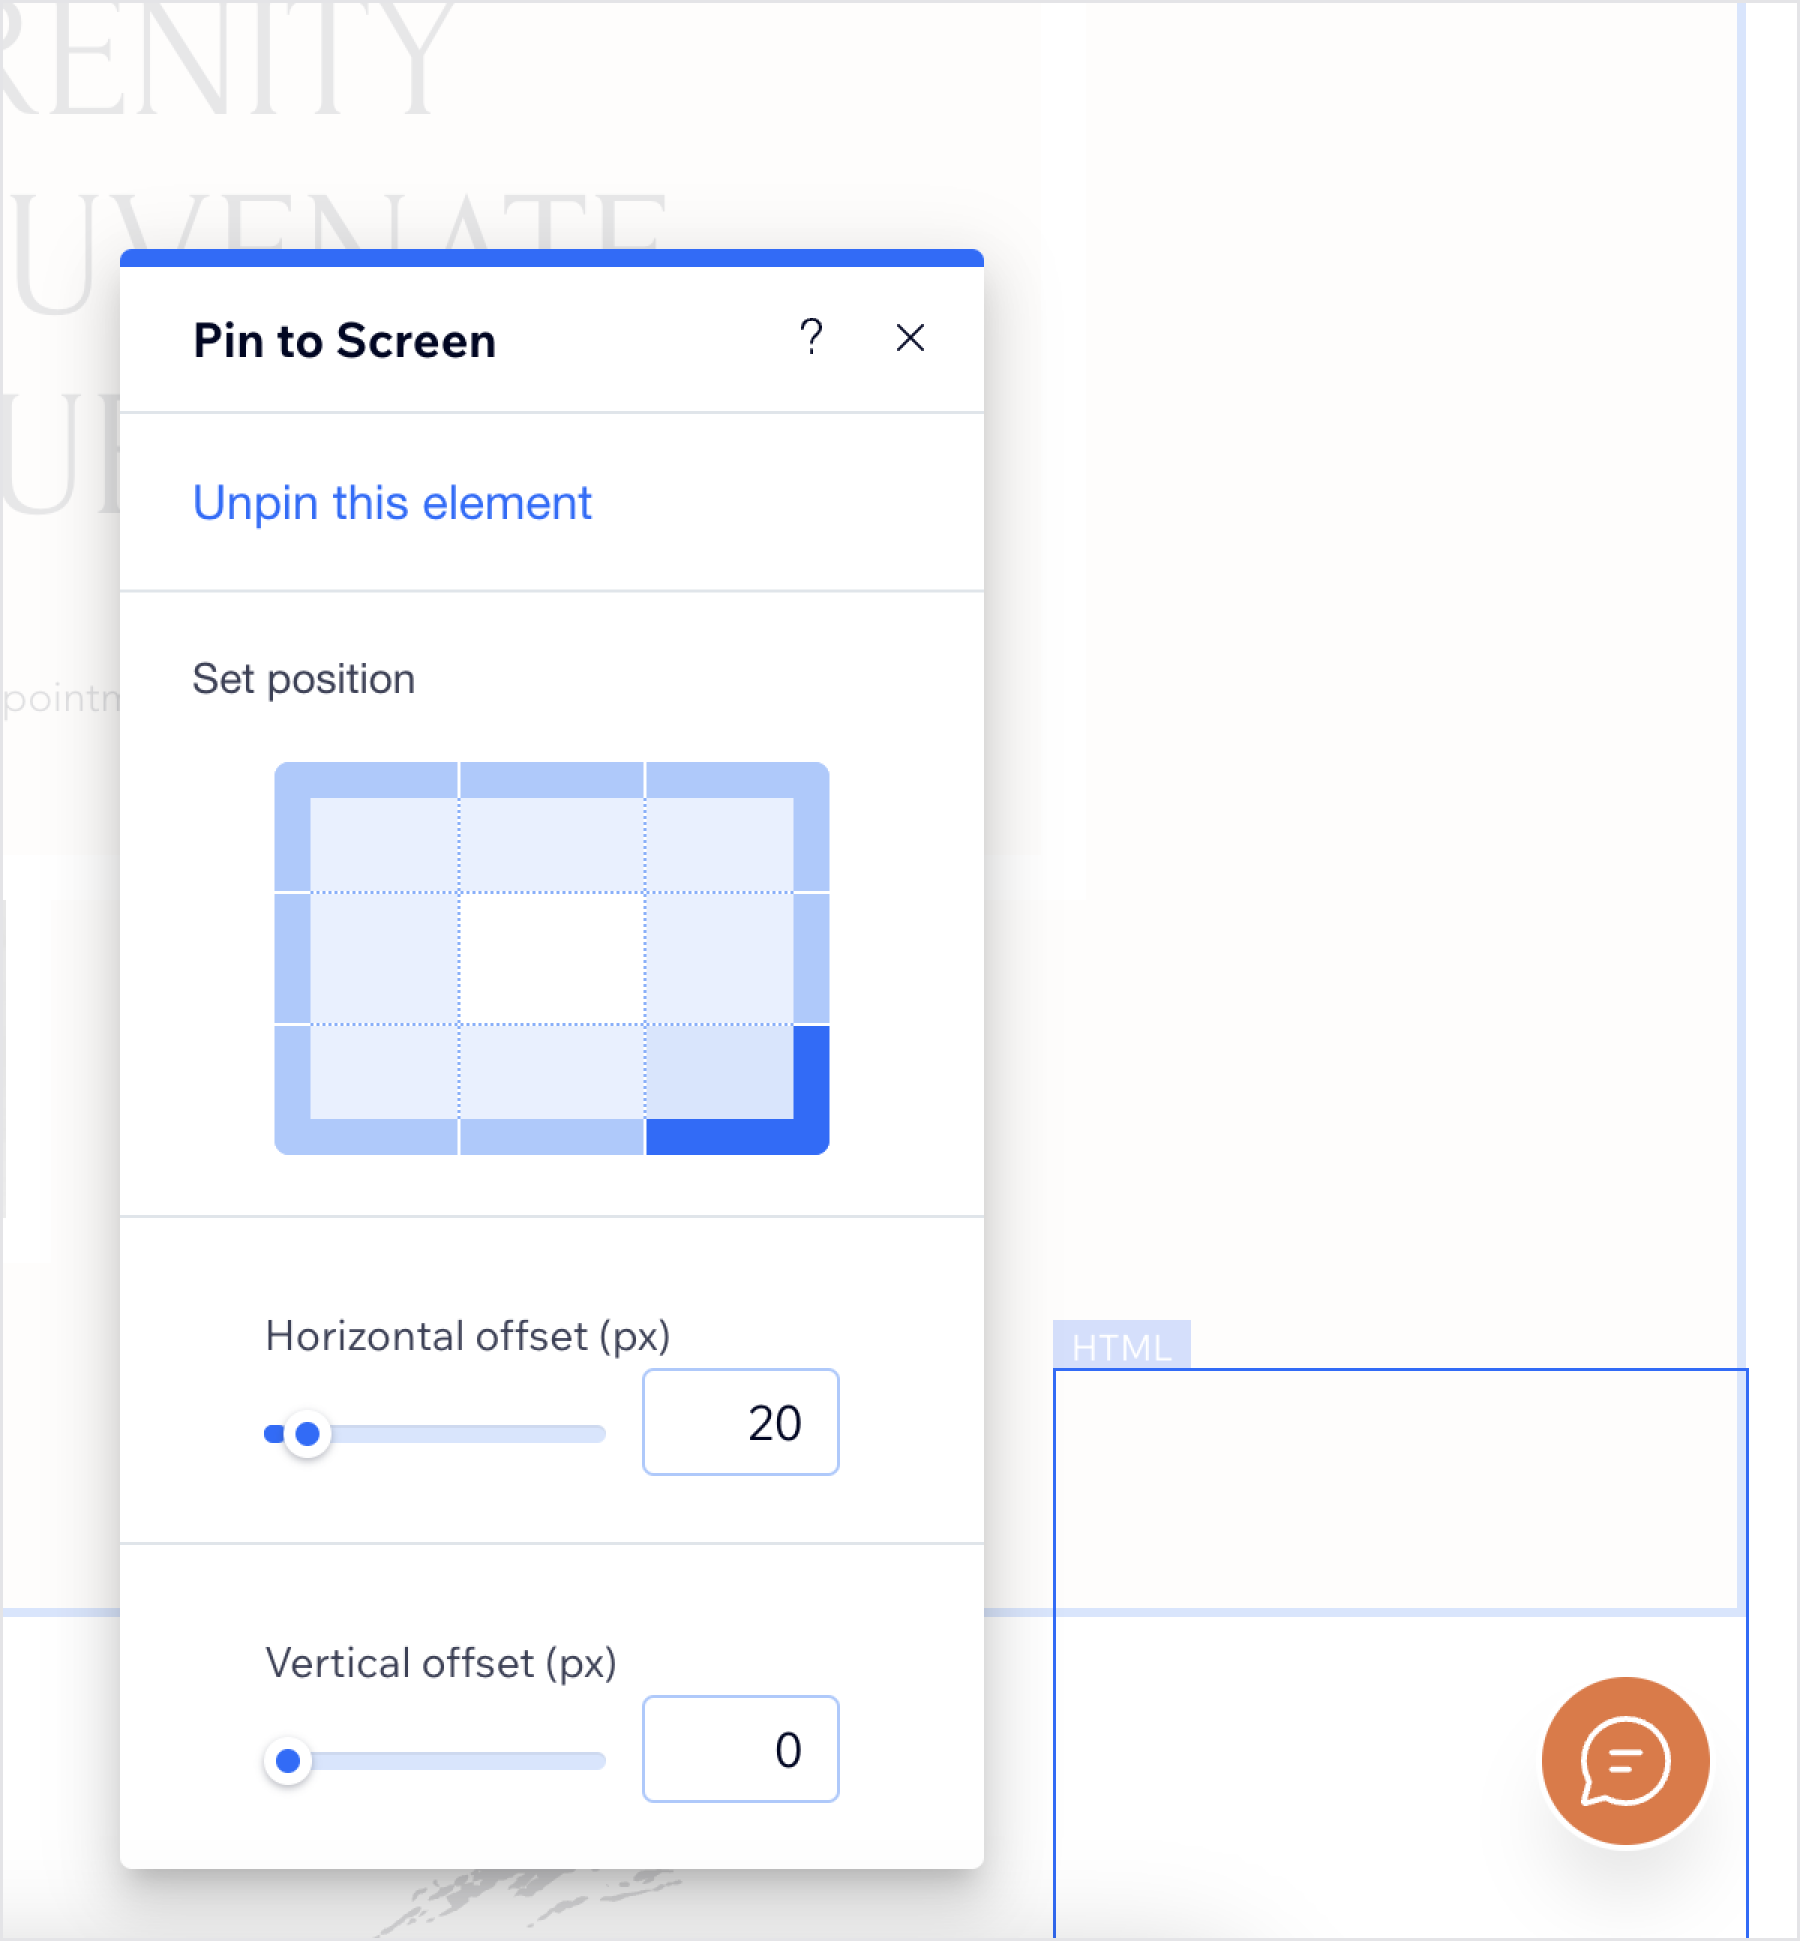
Position the widget at the bottom right corner of your site.
Adjust the height and width of the HTML element to ensure the chat widget appears fully on your site.
Ensure you publish your site for the changes to take effect.
Now, you will see the chatbot widget at the bottom right side of your website.